
Hello
welcome to my little crafting place!
I'm back after a lovely week away in the countryside near Melton Mowbray in Leicestershire and all week we were blessed with beautiful weather! We stayed in a lovely holiday let, where we had some rather beautiful big Shire horses as near neighbours! You can see a picture at the end of this post.
Today I'm sharing my card for this week's Daring Cardmakers challenge andI had a lot of fun making this one - and for a change the only dies I used were for the letters on the sentiment
and among many other Summer favourites, this weekend the famous Glastonbury Festival will be in full swing. Will festival go-ers be knee-deep in mud this year or reaching for the suncream and suffering from heatstroke?
This week get happy, sunny, and fete/festival-ready with colourful, celebratory flags, bunting and/or music on your projects.
Create anything you like - cards, tags, postcards, 3D projects this week
- and don't forget to share them with us!

I used digital designs for this card, resized and printed onto white bazzill. When all the layers are folded together it becomes quite a thick card, so a lighter weight of cardstock helps it to fold more effectively.
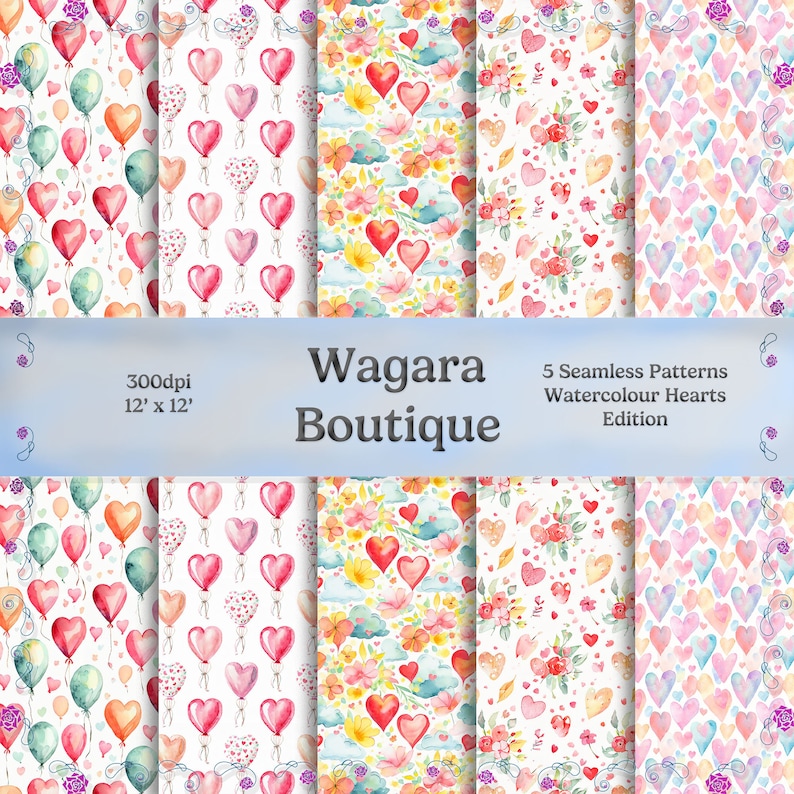
As my starting point I chose one of the designs from this set by Wagara Boutique
I cihked some scraps of card with colourful inks to make the bunting. It's so easy to create your own bunting just with card or paper and a pair of scissors. You can make it exactly the right size for your project.
 |
| (folded flat 1) |
The stripy poles were just made by folding some spare card in half for strength and cutting two narrow pieces.
 |
| (folded flat 2) |

- you can use it to access the store whenever you buy from SpellbindersIt doesn't cost you anything, but I may get a little reward for pointing you there.There's
a UK based shop now, so you can use the 'Visit Our UK Store' button at
the top right of any page on the Spellbinders site
Thank you so much for visiting

No comments:
Post a Comment