
Hello
How was your week? I feel as thought I've been running in circles this week, and failing to get much of my list ticked off - which isn't geat when the list grows so fast!
This week on the Daring Cardmakers Nat asked us to make some blended backgrounds to use on our cards, and I was looking forward to spending some time playing and experimenting - but in the end only had time for one aquick session and making one background. Mind you, at least it was big enough for making two cards - though there's just the one done so far.
Here's what Nat says:
DIY blended backgrounds.
The recent Distress Oxide releases have made it much more appealing for me to create blended backgrounds of my own rather than just use patterned paper. There are so many pretty colours that work together and so many possibilities for projects. I've finally started using my Distress Inks for more than just stamping.
If you have inks, paints, pastels, crayons in your stash then it's time to get them out and get creative! Sky-inspired backgrounds are always a winner, but the possibilities don't end there.
I look forward to seeing your take on this challenge!
To get you started, CLICK HERE to visit the blog and see what the design team came up with this week:
Info:
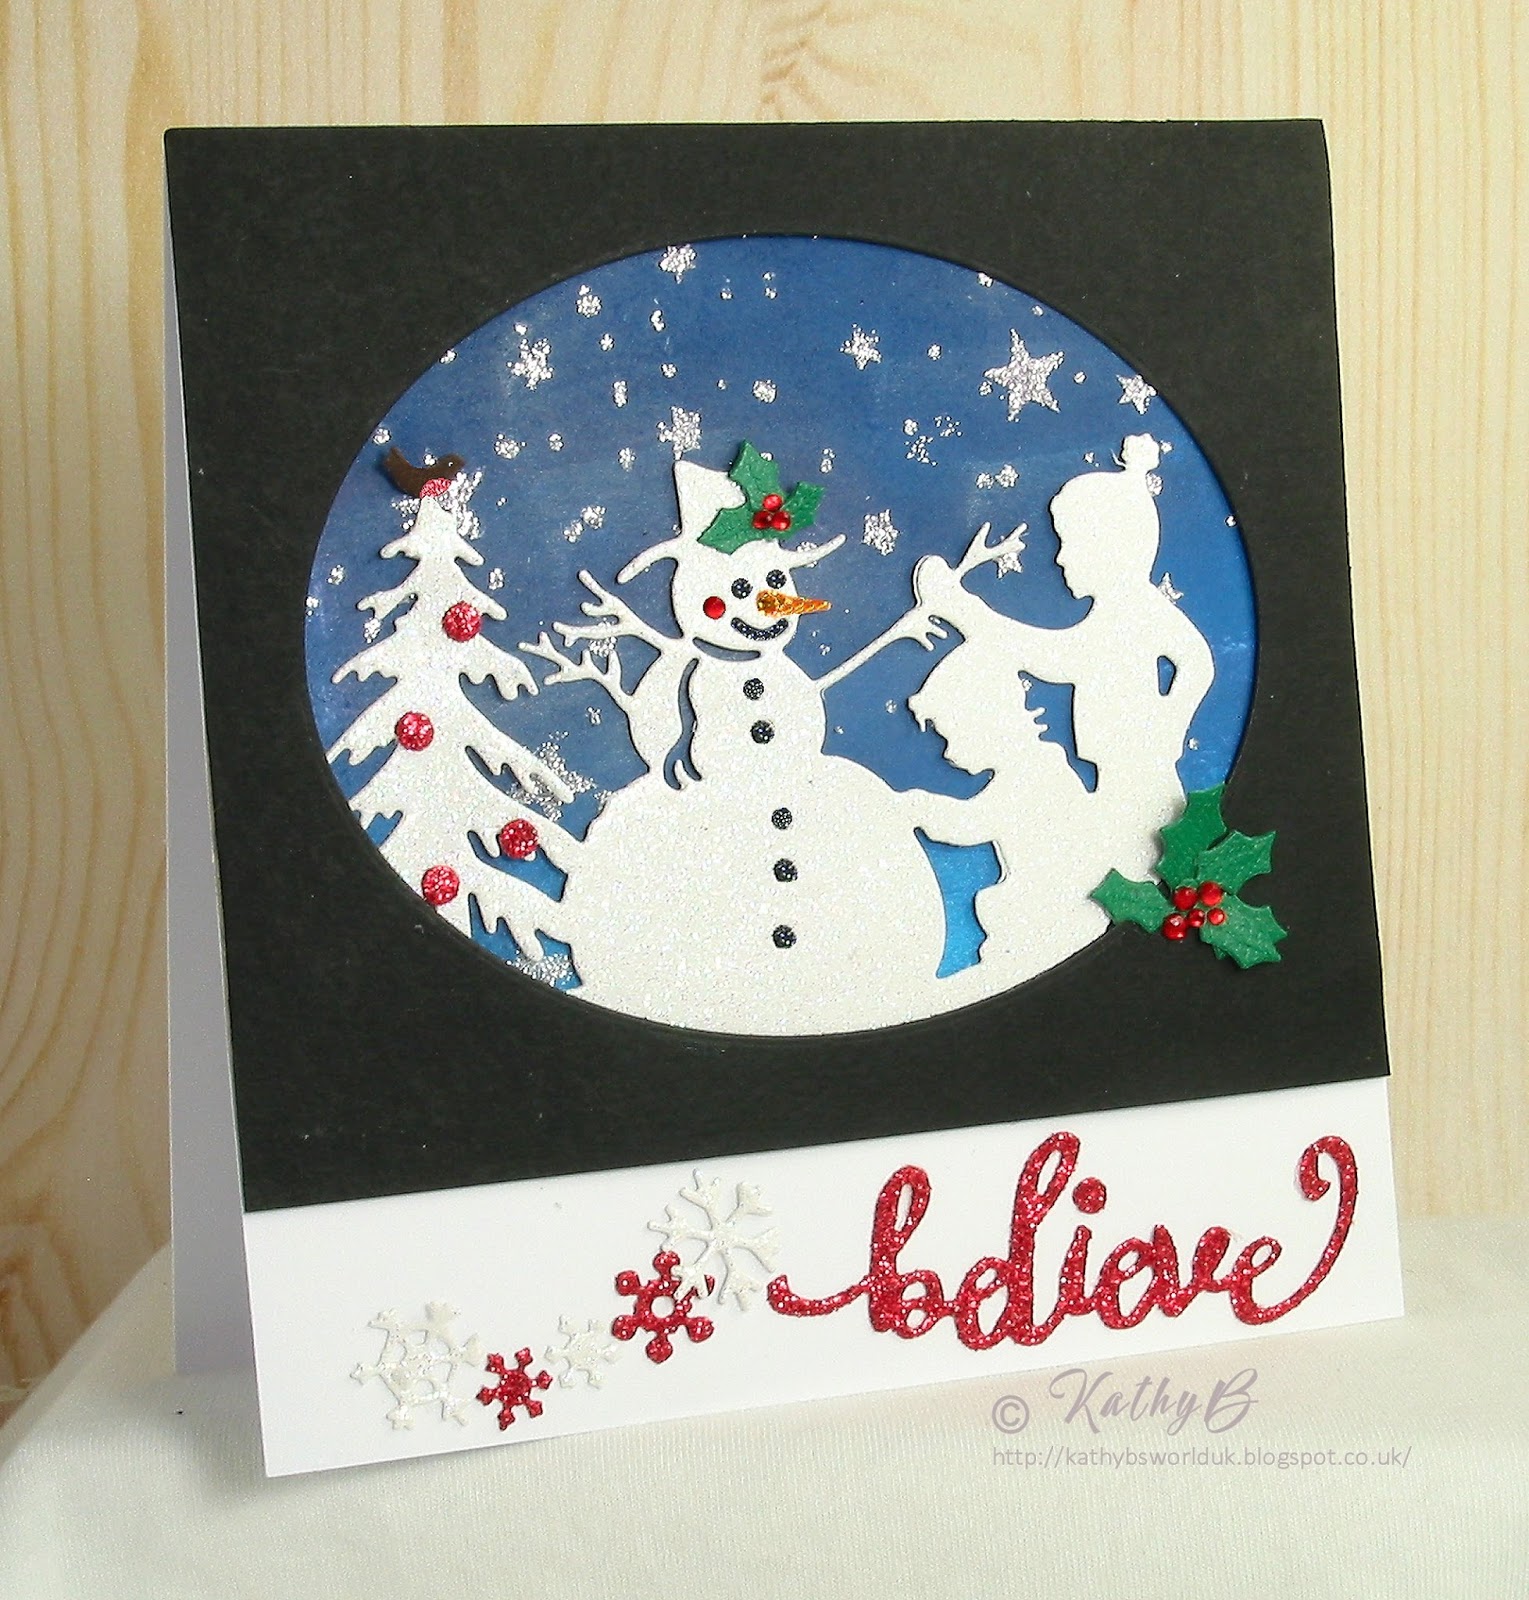
I used a separate piece of card to make my inky background, and used various Distress Inks and other inks, blended with a wet wipe. There's black, purple, midnight blue and a more turquoise blue in there, plus a little hint of silver.
Once it was dry I stencilled over it using a Memory Box stencil and silver Sparkle Medium. I wanted to use the white 'Diamond' version, but the tiny bit that was left in the pot had dried up. (so, of course, I went shopping mid-card.....)
The finished background was cut down and a piece of black card cut to fit over it, and when fixed to a white square card blank would leave a lower border of the white showing
An oval aperture wad die-cut in the black layer, and some dimensional tape added around the edge.
Next I cut 'Building a Snowman' from white glitter paper and adhered to the background piece before fixing the black panel over the top. I cut the little bird on the top of the tree out in brown and added a little red glitter glue to make hi more robin like (he doesn't really show up very well so I think I may have lost the plot a bit there? I added some tiny 'baubles' and some little holly leaves with gems for berries, and used Stickles Glitter Glue in black, orange and red to add some extra details and colour
'believe' is from the Naughty or Nice Holiday 2017 Die D Lites Die set and was cut using red glitter card
I added various red and white glittery punched and die cut snowflakes to finish the sentiment panel

That's it for today. My fingers are week and truly crossed that the parcel I've been waiting for turns up today. The postie arrived nearing various packages for my yesterday, but obviously not the one I've been looking out for all week. Please come today.....
I really hope you'll join in with Nat's challenge this week, we'd love to see what you make
Anyway, thank you for visiting, please leave a message before you go 😉

7 comments:
Hi Kathy this is a stunning Christmas card I love it. Take care. Hugs Jackie
beautiful and sweet card Kathy
Gr Karin
The background you've created is perfect for the snowman scene Kathy. I really enjoyed this challenge even though I did mess up my first one! Shabneez x
I love the background Kathy, and especially how it is showcased in the aperture. Really lovely and so festive. :)
Stunning card Kathy. I love the die cuts against the fabulous background. Cathy x
Hope your parcel arrived! Love the night sky background for the pretty die cut scene on this Kathy!
I really love this! What a great design! Hugs, Autumn
Post a Comment