Hello!
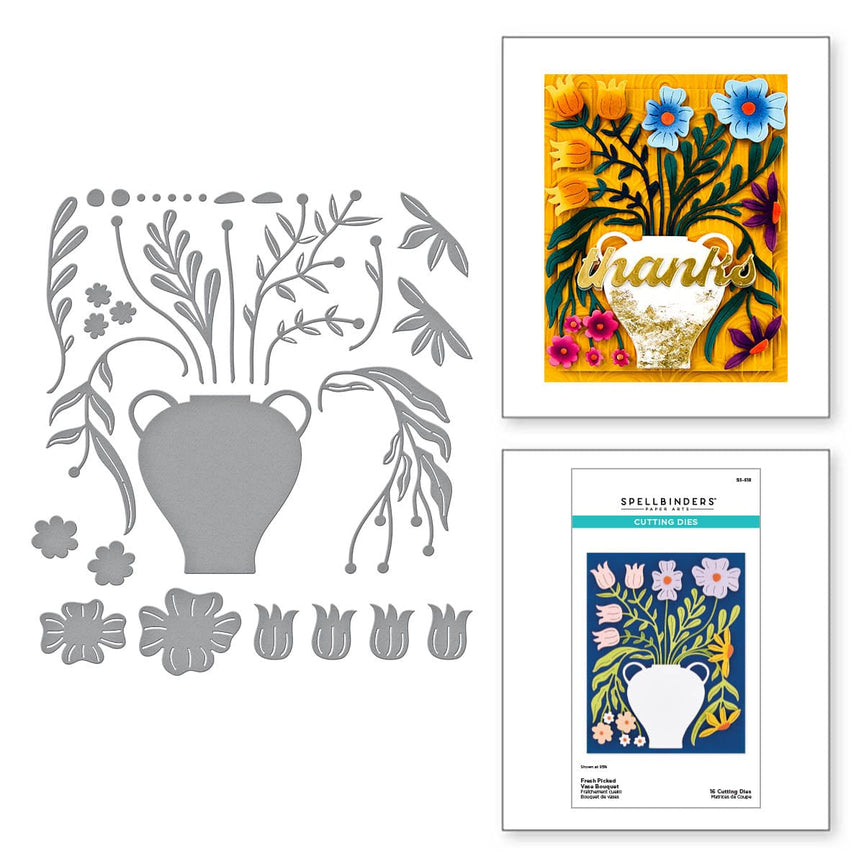
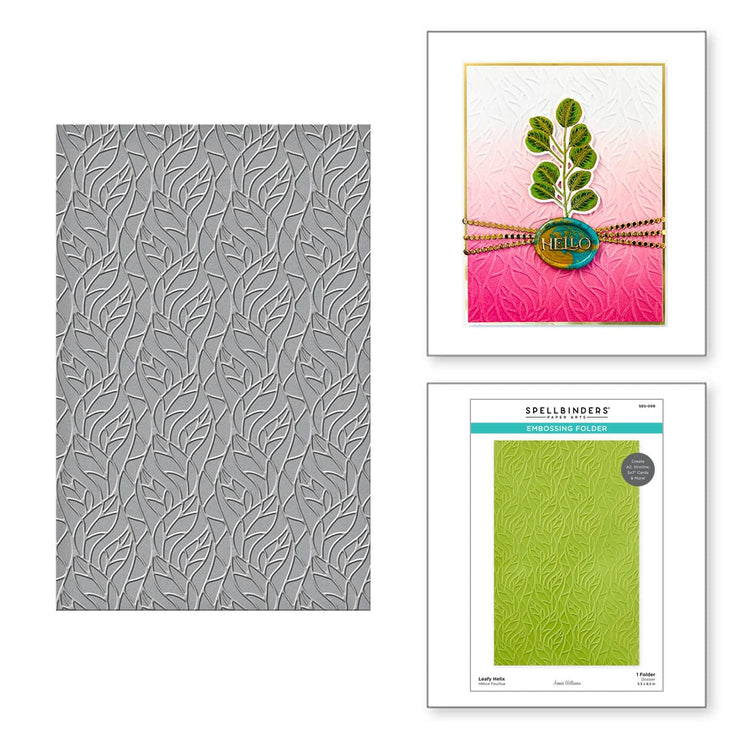
Welcome to my little crafting place! I've another Spellbinders project to share using the Fresh Pickred Vase Bouquet dies from from April's Miore Fresh Picked collection and a sneaky bit of embossing using the Leafy Helix folder from the Propagation Garden collection
I know they call it a 'vase' on the details, but it screamed Greek Urn to me, so there's where I went with this!If you ever visit a really old Greek village you will see almost every house will have some kind of planter outside filled with bright geraniums or other showy flowers! Often they'll just be old olive oil cans painted blue or red or yellow - as long as that paint is bright! I absolutely loive to see these streets.
For my card I decided to evoke beautiful Greece by using a digital download image as the backdrop. I printed it directly onto a sheet of card then folded it to create my card blank. My idea was for the image to be in the distance with a big urn full of bright flowers in the foreground.

I inked up some 80gsm thin white card on both sides with shades of yellow and orange, plus more in green for the stems and leaves. There are some really cute flower shapes in this set and you also get plenty of leaves, stems, flower centres and of course that gorgeous vase/urn!
I assembled my bouquet, being sure to check the stems would all fit in the neck of the vase!
Next I inked some card to look as much like terracotta as I could, and cut out the vase shape beofre putting it the embossing folder (if you do the embossing first you squash it while cutting the vase shape).and running through the machine
Next I swooshed a copper coloured ink pad over the embossing
and added some bits of chipboard to the reverse to give some dimension before adhering the vase in place

To finish I added a pc generated sentiment. Items Used: Fresh Picked Vase Bouquet (S5-618) from More Fresh Picked collection

I inked up some 80gsm thin white card on both sides with shades of yellow and orange, plus more in green for the stems and leaves. There are some really cute flower shapes in this set and you also get plenty of leaves, stems, flower centres and of course that gorgeous vase/urn!
I assembled my bouquet, being sure to check the stems would all fit in the neck of the vase!
Next I inked some card to look as much like terracotta as I could, and cut out the vase shape beofre putting it the embossing folder (if you do the embossing first you squash it while cutting the vase shape).and running through the machine
Next I swooshed a copper coloured ink pad over the embossing
and added some bits of chipboard to the reverse to give some dimension before adhering the vase in place

******
Just a Note about my Links
The links to the items used are my share-a-sale links which mean that if you use them I may get a small 'thank you' payment
HERE, also is my Affiliate Link
to the Spellbinders store - you can use this at any time to access the store, and I'll really appreciate it if you do
Using these links doesn't
cost you anything at all!
There's
a UK based shop now, so you can use the 'Visit Our UK Store' button at
the top right of any page on the Spellbinders site
thank you!
******
Thank
you so much for coming by.
Happy Crafting, Take care of yourself,
Kathy xx


No comments:
Post a Comment