Friday, May 19, 2023

Hello Sunshine


 Hello

Thanks for visiting. 
 
As usual on Fridays I’m sharing my card for this week’s Daring Cardmakers Challenge, and this week it's Miri's turn to inspire us!

    This week I want you to celebrate and enjoy
    SUNSHINE
and hopefully this will encourage the sun to show up a bit
more often in the next few weeks and months 😊.
Put a sun, bright yellow circles or sun rays on your card. It might be a 
sun as a focal point or in the background or as part of a scene.
So dig out your dies, stamps etc. and send some sunshine into the world!
(And after your crafty session go outside and enjoy some sunshine!)

    Click Here for some sunny examples from the design team
 
This was a really simple card to make, but I really love how it turned out!

For the base card I used a smooth white square

I inked 2 pieces of the same kind of card, one in shades of blue Nuvo mousse, the other in shades of yellow ink. The circle for the sun was die cut, the sun rays were hand-cut. The 'waves' were ales just cut with scissors

To complete the card I added a black and white printed sentiment


Thank you so much for coming by

 Happy Crafting, Take care of yourself, 


Tuesday, May 16, 2023

Flower Box!


 Hello

Thanks for visiting. 
 I was a 'Spellblogger' with Spellbinders a few years ago and loved every minute! I was really sad when that program was closed down so I was thrilled a few weeks back to be invited to join the Affiliate team and showcase some of the latest products. It was so exciting to take delivery of my chosen items from the Photosynthesis Collection by Simon Hurley!
 
I've been using
  
Floral Stems etched  dies
and
 
 Please note that if you use any of the Spellbinders direct links in this post I may receive a small commission - it doesn't cost you anything at all but its a nice treat for me!
 
Today I've some extra info and photos for the Flower Box Card I made using the Floral Stems etched  dies 
 
I started by making a regular pop out box card, which folds (relatively) flat and goes into a normal envelop[e for posting.
I inked both sides of some 80gsm plain white card in the yellow and orange tones I wanted for my flowers. I also inked some 300gsm card in green for the stems and leaves as they needed to be stronger to support the flower heads. Next I die cut all the pieces, made the flowers and arranged them on the bars inside the box
 
I cut pieces of green card to fit the three flaps of the box and glued them in place. I then cut three panels of blue card slightly narrower than the flaps, On each of these I die cut the leafy stem shape in a different position, then adhered them over the flaps with foam tape


I really love how this turned out and I really love this die set!

Thank you so much for coming by

 Happy Crafting, Take care of yourself, 


Monday, May 15, 2023

Crowning Glory


 Hello

Thanks for visiting. 
 
 I’m sharing my card for this week’s Daring Cardmakers Challenge today, and it's my turn this time, so with all the pomp of last week's coronation shenanigans still in mind...
 Crowning Glory
The phrase Crowning Glory is often used to describe that extra bit of panache 
that makes something look realty special! 
I'd like to see that reflected on your cards this week.
So as we've just celebrated the coronation of King Charles III, you could add a crown to your cards, or perhaps your 'Crowning Glory' will be a fabulous hairstyle or a wonderfully flamboyant hat. or something spectacular that adds extra pizazz.  
 
I made a card for a baby girl's first birthday and added a little crown - they are all little princesses (or princes) at that age, aren't they?

For the base card I used a smooth white square and sliced off a couple of cms to make a fat rectangle.  Next I cut another piece of the same cardstock and embossed it using the lovely Orange Peel Quilt embossing folder from Spellbinders.  It makes a perfect background for a baby quilt look, as my photos don't show the effect very well I'm adding a picture you can click on to see more clearly!

I die cut the Hunkydory teddy several times so that I could used various pieces to build up some dimension. The silver crown is from the same Hunkdory set, but I cut it down to fit the teddy then added some gems and a glitter card pink heart
 I added the number and 'TODAY' cut from silver card then made a little banner to finish the card

Thank you so much for coming by. 

Please note that if you use any of the Spellbinders direct links I may receive a small commission - it doesn't cost you anything at all but its a nice treat for me!

 Happy Crafting, Take care of yourself, 


Friday, May 12, 2023

May Elemental Challenge


 Hello

Thanks for visiting. 
 
As usual on Fridays I’m sharing my card for this week’s Daring Cardmakers Challenge, and it's Shabneez's turn this time

This week I was tasked with choosing the inspiration for the 

May Elemental Challenge.  

The picture I chose has lots of fruit, straws, bold colours, paint smears etc. 

 You choose 3 elements from it for your card and colours count as 1.  


I went with the Circles, Triangles and the Citrus Colours as my 3 elements


I stencilled the smooth white square card using Puff Dotty stencil by Spellbinders using some of the citrus shades on the moodboard

The die set is also by Spellbinders but is an old one and I don't think its available anymore

Thank you so much for coming by

 Happy Crafting, Take care of yourself, 


Friday, May 05, 2023

Introducing...Floral Stems and Ceramic Vases

 Hello

Thanks for visiting. 
 I'm thrilled to have been invited to use some of the new die sets from Spellbinders and showcase a couple of projects using them.
 
I've been using
  
Floral Stems etched  dies
and
 
 both sets are by Simon Hurley from the Photosynthesis Collection

 Here is a quick look at what I've made so far. I'll also write more detailed posts for each of these separately

First I made a box card using the Floral Stems etched  dies


I love flower die sets so this ticks all the boxes for me!  It's just stunning and there's so much I can do with it, it's sure to be a favourite!

My second die set is the Ceramic Vases etched dies
You make flowers, you need something to put them in, Right? I've never found a set of vase dies to add to my collection so I'm chuffed to have  this one now!

I chose 3 of the vases and used them along with the Floral Stems and my current favourite Spellbinders embossing folder to make this card


Each vase as an embossed insert so you have the choice to use them plain or using the pretty embossed inserts too.

(If you use my links, I may receive a small commission at no cost to you!)

Thank you so much for coming by

 Happy Crafting, Take care of yourself, 


Sunday, April 30, 2023

A bunch of…


 Hello

Thanks for visiting. 
 
As usual on Fridays I’m sharing my card for this week’s Daring Cardmakers Challenge, and this week it's Joanne's turn to inspire us!
 

A bunch of…
This week I'd like you to make a card featuring something that
comes in bunches:
flowers, grapes, bananas,
What else can you think of?

For the base card I used a smooth white square, the added the aqua section using a piece of pearlescent card cut to shape using a curved edge from a set if Spellbinders Edger dies

I inked a few pieces of card in tulip colours and used a Joanna Sheen die to cut the heads, and cutting the stems and leaves from scraps of green card 

The die I used was a “clump” of tulips so I separated them to arrange into a bunch instead 

To complete the card I added a black and white printed sentiment and a Bakers twine bow 

Thank you so much for coming by

 Happy Crafting, Take care of yourself, 


Friday, April 21, 2023

Birds of a Feather

 Hello

Thanks for visiting. 
 It's Friday, so as usual today I’m sharing my card for this week’s 
Daring Cardmakers Challenge, 
 
It's Nat here bringing you a brand new challenge just in time for the weekend

 Birds of a Feather
This week, we're staying outdoors, as I want you to...

Feature feathers or something feathered on your card
 
Here are some ideas from the design team to get you started.


 For the base card I used a smooth white square

The birds are all cut from scraps of black and white patterned car - I make these in my pc's graphics program then resize and print out when I need them.  Its easy to edit the designs to print in different colour combos too! I always keep the leftover scraps as they come in useful more often than you'd think!


I used plain black Bazzill card for the leaves and wings, scraps of coloured card for the other features and tiny gems for the eyes'

'hello' is another of my printed out sentiments

All dies used here are by Spellbinders

The birds are from the Sweet Birds on a Branch  Die set

The leafy sprouts are from a Die Set of the Month collection from a few years ago

Thank you so much for coming by

 Happy Crafting, Take care of yourself, 


Friday, April 14, 2023

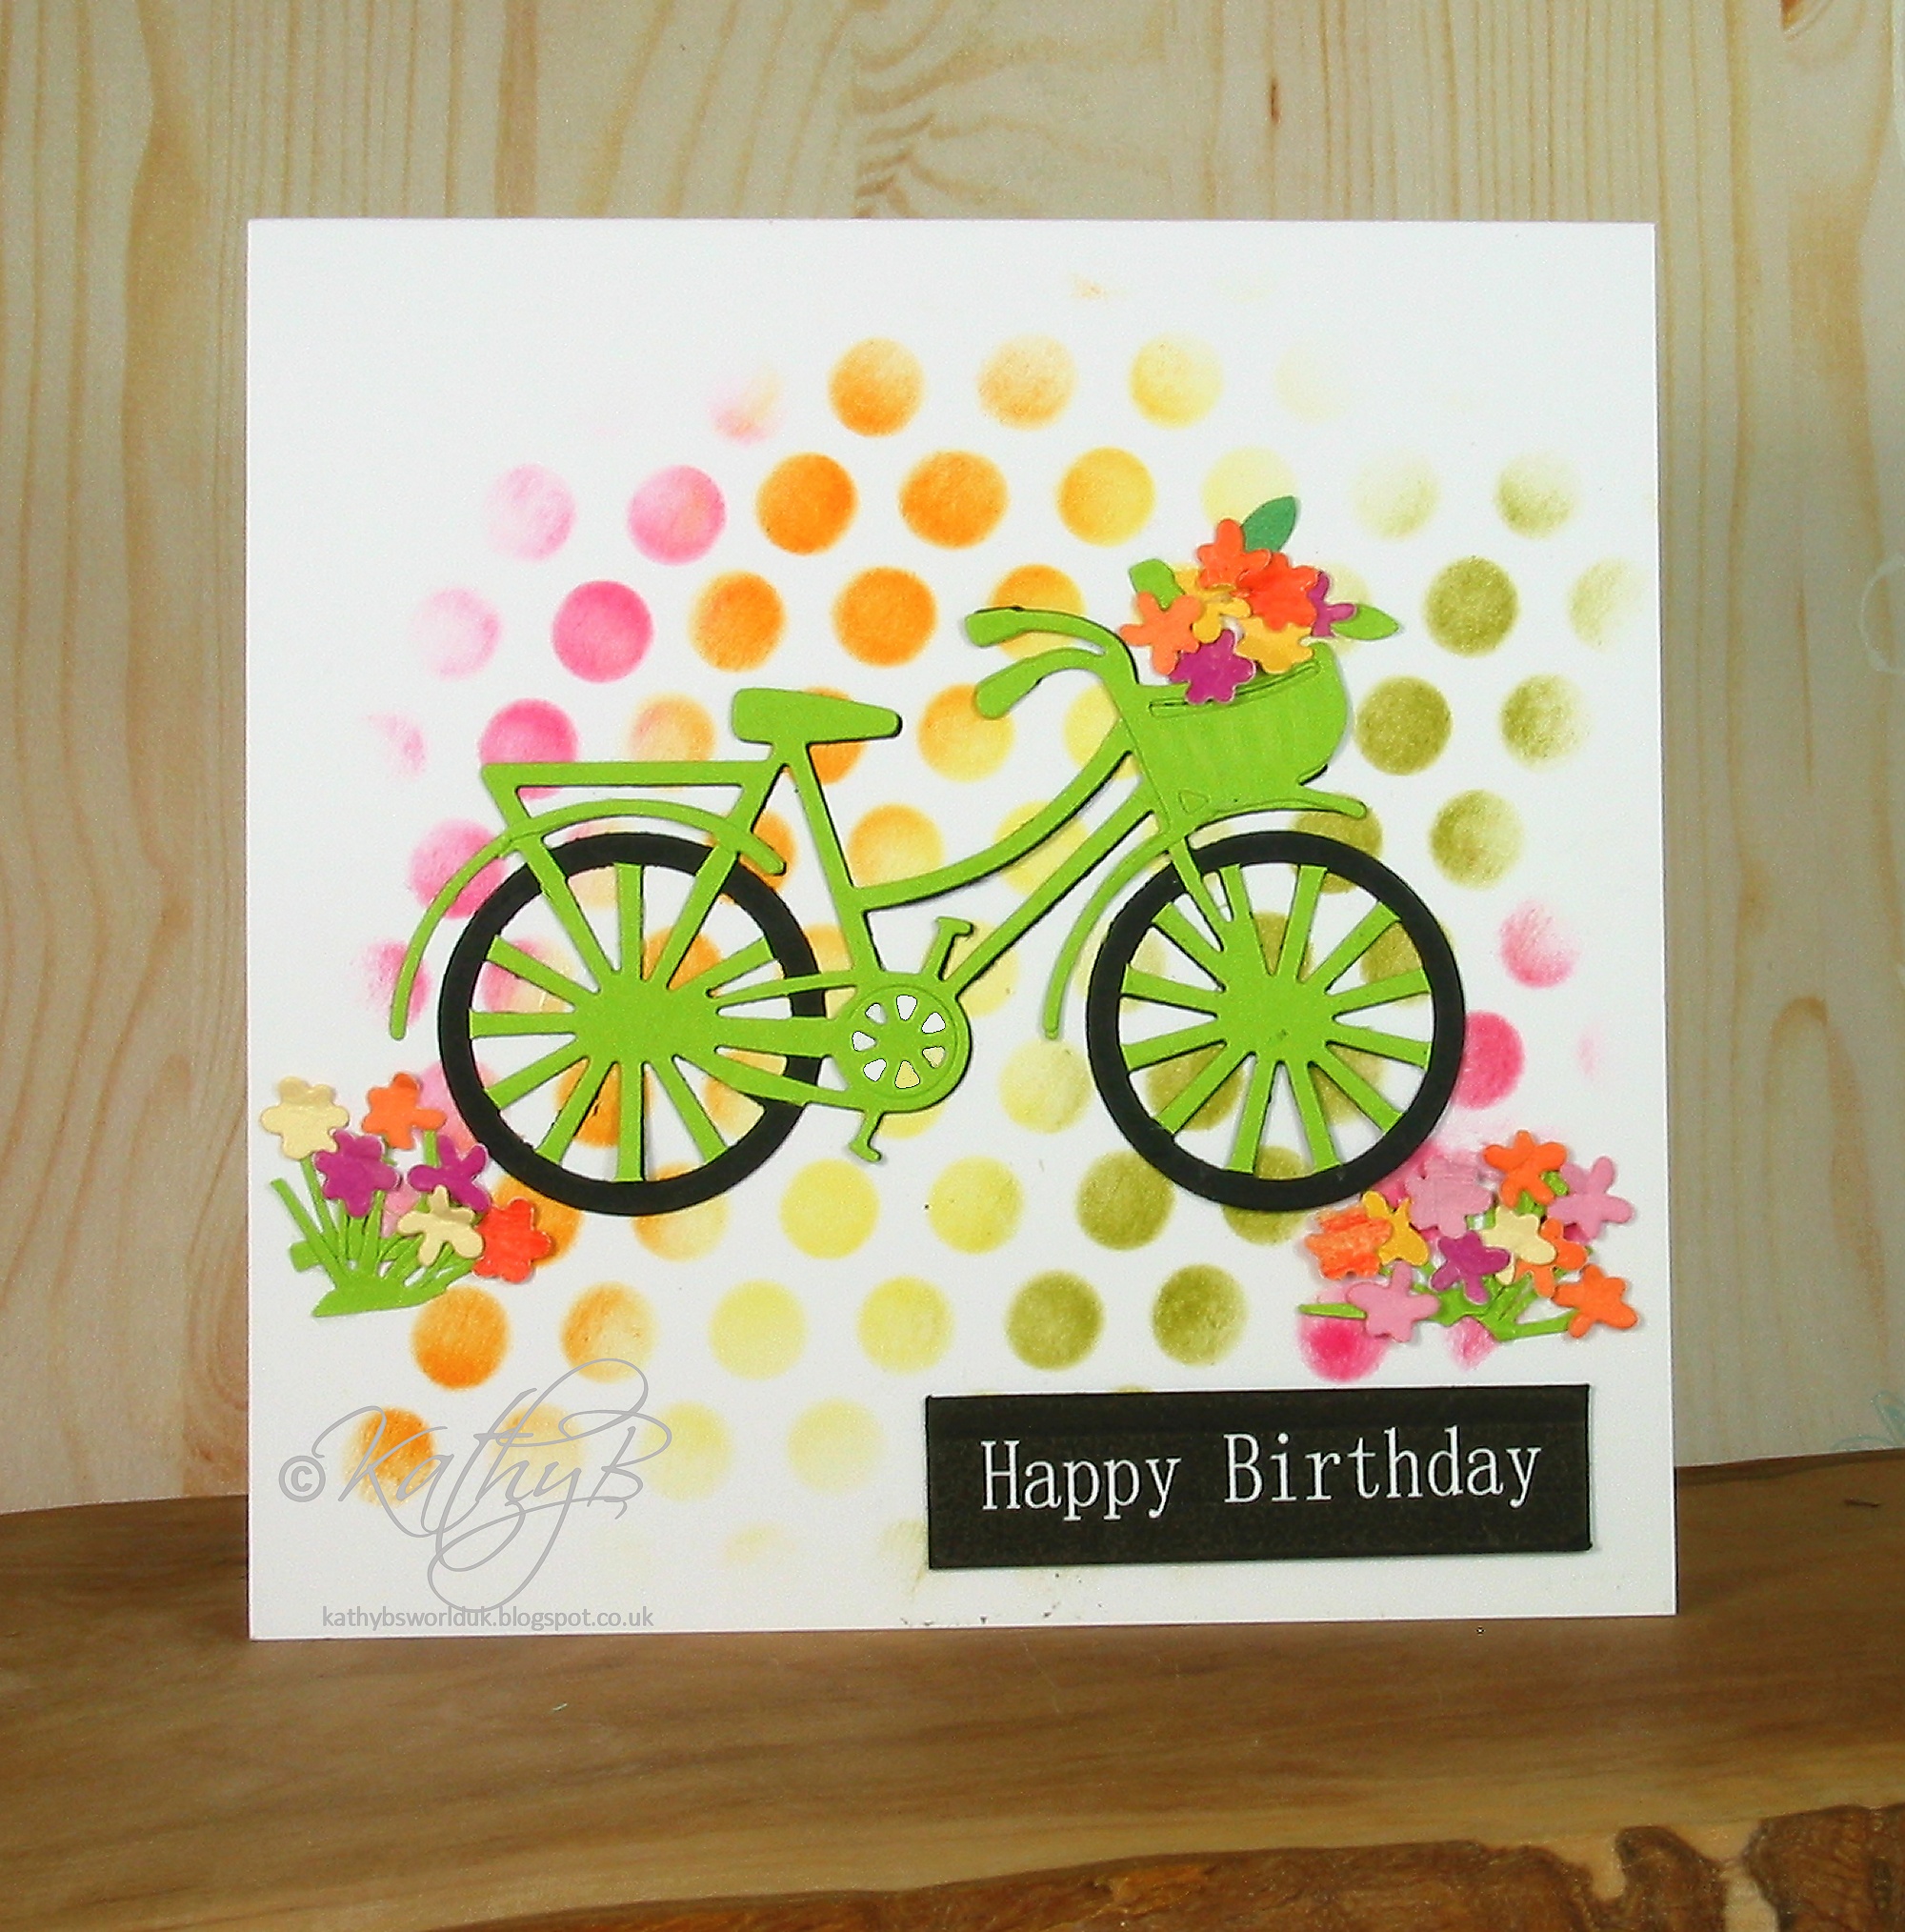
Bloom and Grow


 Hello

Thanks for visiting. 
 
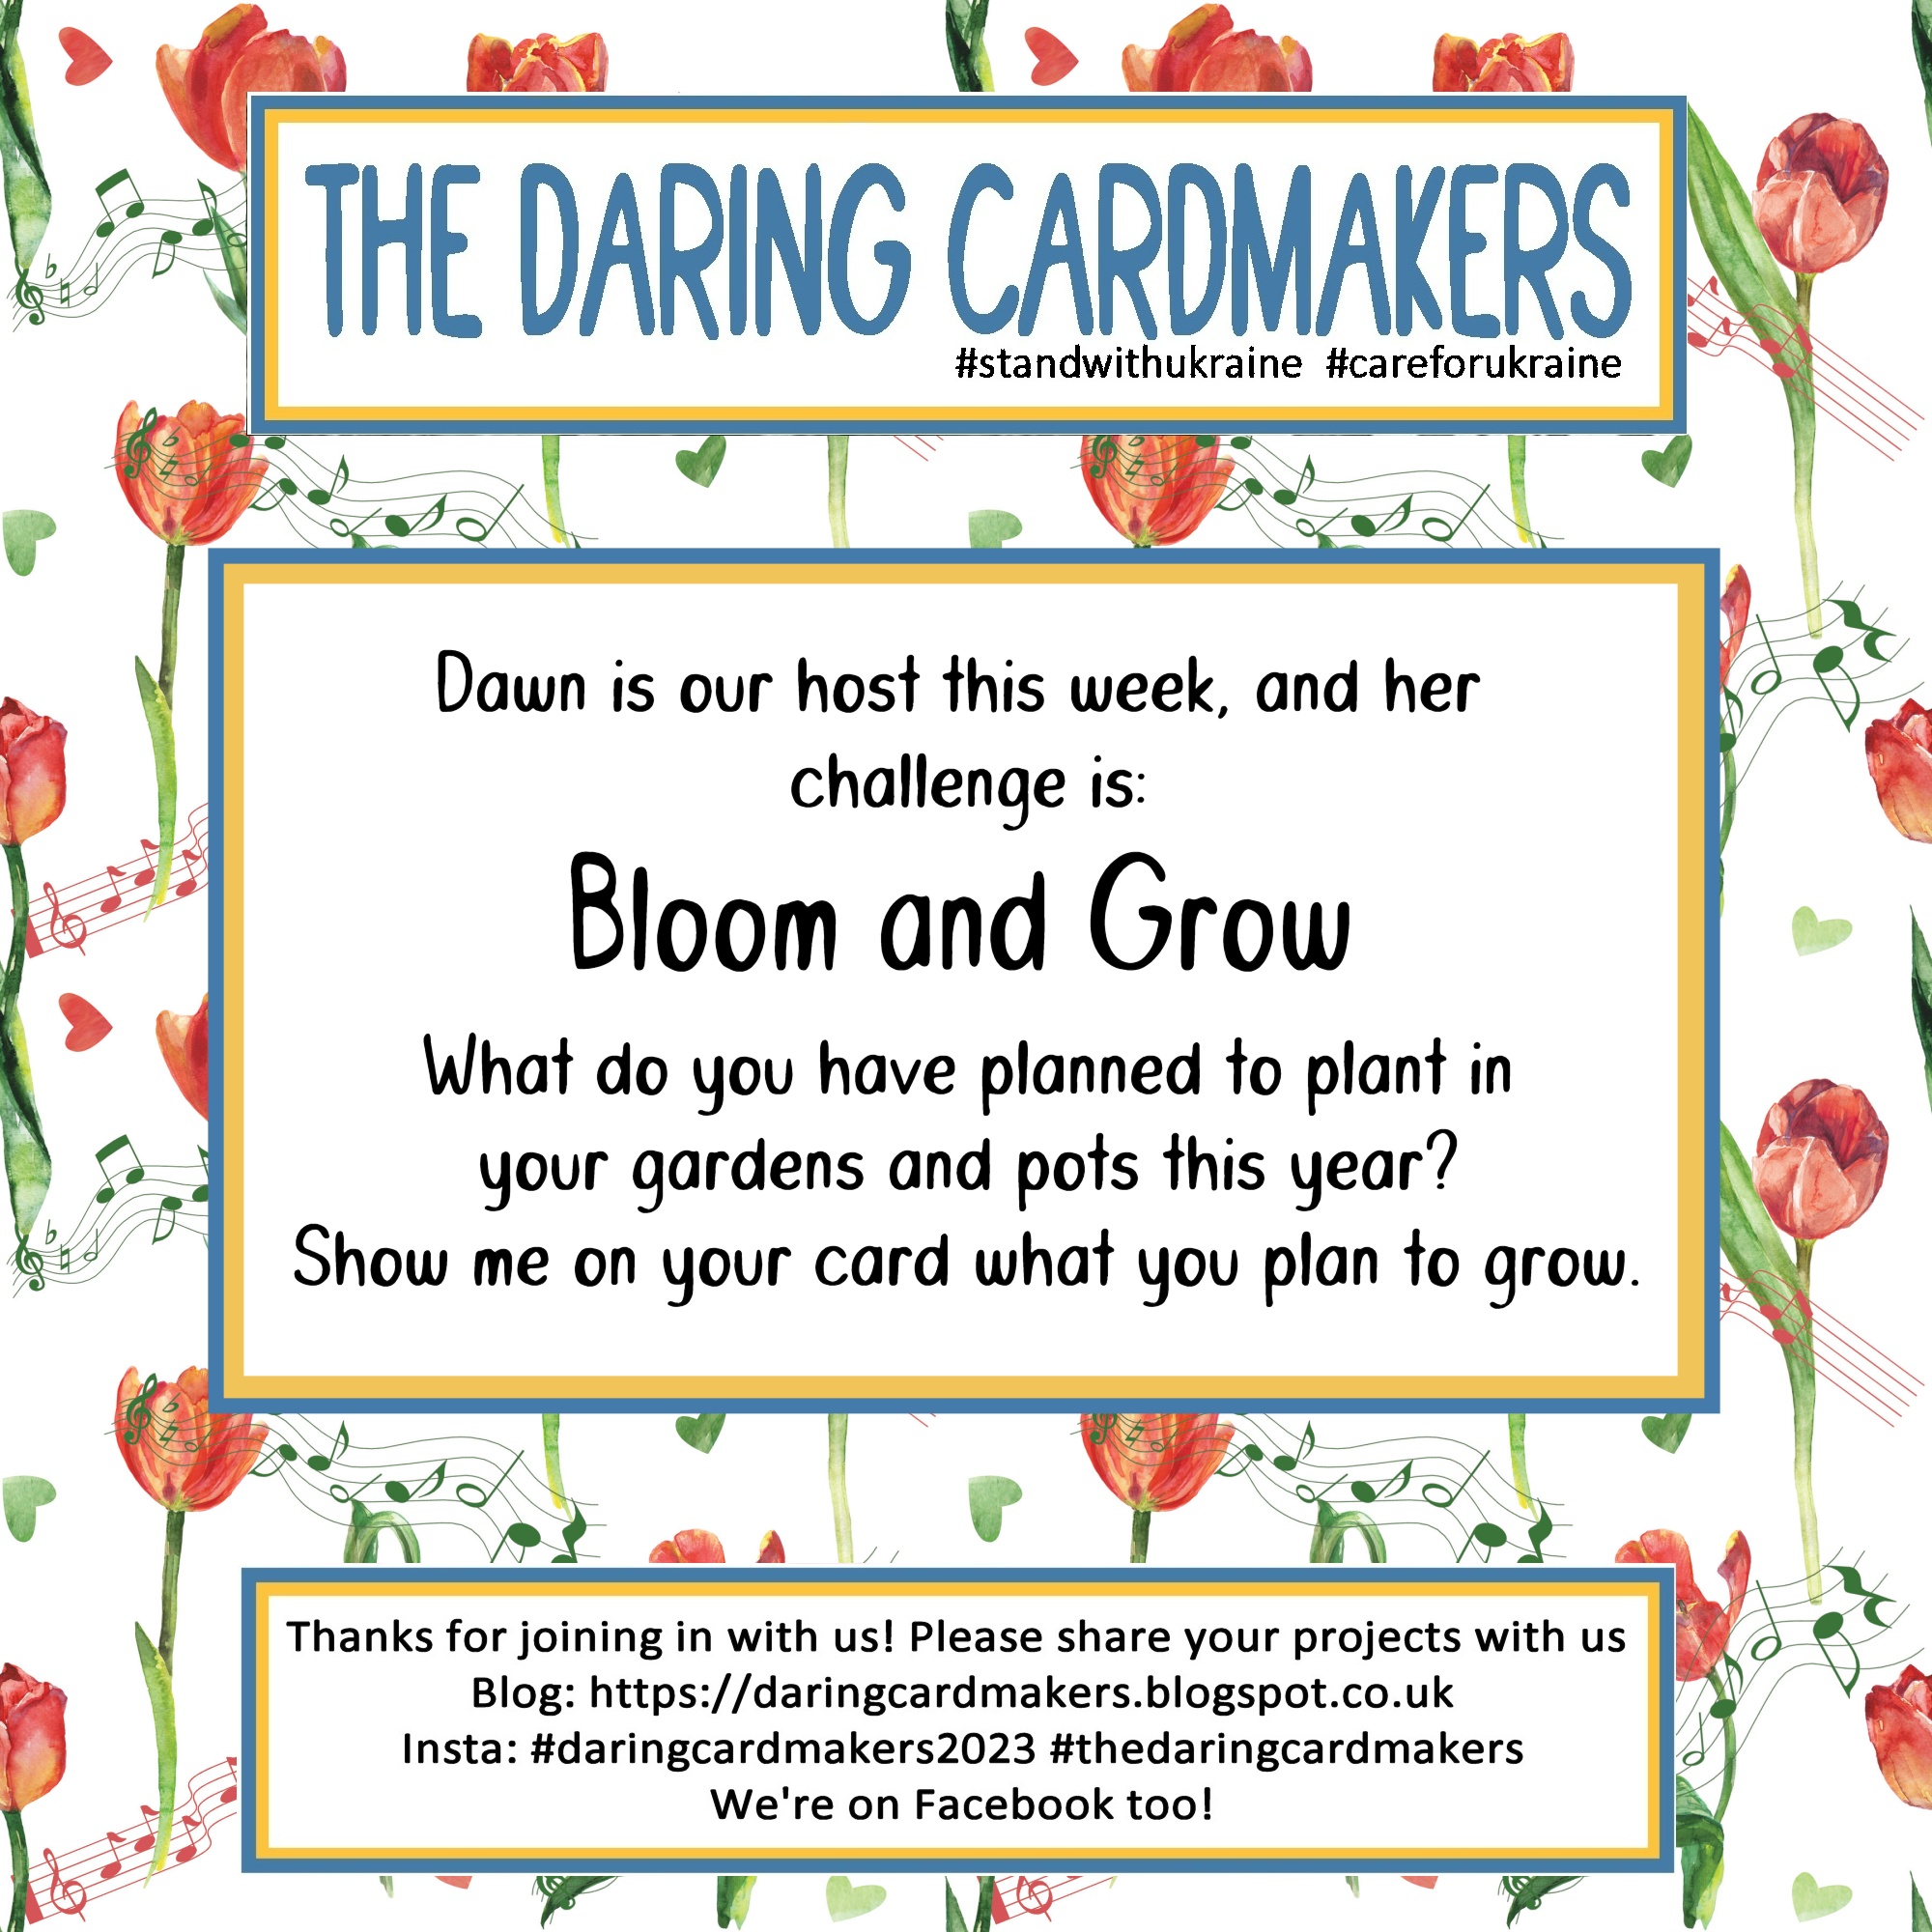
Today I’m sharing my card for this week’s Daring Cardmakers Challenge, 
 
Its Dawn's turn to set the challenge and its called
Bloom and Grow
What do you have planned to plant in your gardens and pots this year?
Show me on your card what you plan to grow.


For the base card I used a smooth white square, then used washi tape to mask off the top and bottom areas before applying several pale blue and aqua shades of Nuvo mousse to the areas between

I inked both sides of some thin white card with ink in sunflower shades and cut the heads several times in each colour using a Joanna Sheen die

I used a ball tool to get some shape in each set of petals, then glued them together 

The centres were cut in brown card, which I covered with Glossy Accents, dropping some tiny beads into the GA while it was wet. Then adding them to the flowers

 The leaves were also cut from inked card using the same die set.

The flower pot is from another die set, I think it's a Tonic set. I used some red Nuvo mousse over plain red card to get a bit of a shine before I cut them

I added a 3 layer butterfly using an old Memory Box die

The Birthday sentiment is from a fabulous Spellbinders set (Simply Perfect Mix and Match Sentiments currently on sale, btw). Although the letters have really narrow lines these dies cut brilliantly - there are none of those irritating tiny bits that just refuse to come out!

Thank you so much for coming by

 Happy Crafting, Take care of yourself, 


Thursday, April 13, 2023

April Elemental


 Hello

Thanks for visiting. 
 
Today I’m sharing my card for this week’s Daring Cardmakers Challenge, 
 Its the first Friday of the month so time for an Elemental Inspiration Challenge and this time it's Dawn's choice of image
 
 
April Elemental Inspiration
So for this week’s challenge I have picked the image below.  I decided on this theme as my daughter is into the cottage core/fairy grunge at the moment and has requested a birthday to match.  I am hoping to see lots of lovely inspiration.
Remember to use at least 3 elements on your creations.
 
I chose the red and white polka dots, Hessian texture, Bunting and Cupcake 
 
The background die is an unnamed one, I cut it in red and kraft cards
The cake die set is by Spellbinders
I made the red and white patterns on the pc and printed onto white Bazzill 

Thank you so much for coming by

 Happy Crafting, Take care of yourself, 


Monday, April 03, 2023

Numbers


Hello
Thanks for visiting. 
 
Today I’m sharing my card for this week’s Daring Cardmakers Challenge, 
 
Its Shabneez's turn to set the challenge and its called

NUMBER IT!

Shabneez says:

 This week, I'd very much like to see how you use numbers on your cards.  I think the cards I make the most have numbers on them!
Create a card using numbers either in the background or for a special birthday or anniversary.  


This week I'm using another of my stash of coloured card blanks, this time a lovely deep blue

The upper panel is embossed with an ancient Cuttlebug folder.  To get a really deep embossing I also traced the numbers again using a ball tool 

The banner. letters and numerals are cut from silver card.  I used some strips of very narrow washi tape to decorate the banner


Thank you so much for coming by

 Happy Crafting, Take care of yourself,