Saturday, August 27, 2022

Long Things!


 Hello

This week Joanne set the Daring Cardmakers Challenge, and its a really fun one!
Monday is a Bank Holiday here in the UK so that means it’s a long weekend. Use the idea of “long” to make your card. It might be the card shape (long and thin), an image of something long (dachshund dogs! soft drinks!), something representing a long journey or a long time (a map, a bird that migrates…), anything you can think of inspired by the idea of “long”!

 Here is where you can see the Design Team: inspiration


I decided to make graduated zig zag fold card and used new baby dies from CraftStashUK along with some beautiful, but old SEI papers (does SEI even exist any-more?)

It did take longer to put together than I anticipated, and as I currently have a bad back sitting for any length of time is an issue didn't help!  There's a lot of die cutting involved as I wanted to add extra layers of different colours it took flipping ages to do - timing cutting between OH's work calls adds to the time scale.

Anyway, getting the card made was only part of my troubles this week.  Turns out this card is just impossible to get a decent photo of.  I took loads, both with my little studio set up, and with my phone and they were all rubbish.  This morning I called in OH to help and even he struggled to get something half-way acceptable. 

So I've decided to just post a whole bunch of pics, the best of a bad lot and hope you get the idea - its better in real life, I promise!


Thank you so much for coming by

 
 Happy Crafting, Stay Safe, 


Standing with Ukraine


Friday, August 12, 2022

Keep Your Cool


Hello

This week its my turn to set the Daring Cardmakers Challenge, and I've chosen something to match the weather
Keep Your Cool
It's been pretty hot so far this Summer - even here in the UK!  
So let's see your favourite ways to keep cool when the temperatures soar features on your cards this week.
A dip in the sea, putting your feet in a bucket of water, 
A snooze in a hammock in the shade (I wish!)
Sunhats and parasols
 Ice cream and ice lollies
A slice of juicy water melon
a long cold drink...

 Here is where you can see the Design Team: inspiration
I will admit to loving ice cream, gelato and sorbet - there is so much joy to be had just standing by those wonderful Italian style fridges filled with loads of flavours of the chilly stuff!  Sometimes I just cant choose which ones to have in my tub and end up getting OH to surprise me/
After all these years he knows me well enough to make a good selection!


 Info
 My card blank is a plain white square with the lower section embossed with a very old Cuttlebug Dots and Circles folder
I adhered two lengths of very narrow washi tape above the embossing and wound gold thread around the card between the tape.  I made a gold tassel with the thread and added a bow

 I inked up some pieces of scrap card in ice cream shades.
For the ice cream cones I used a Spellbinders die for the scoops if ice cream. The cones were cut by hand and the pattern made using a score board
The ice lollies were made using  another Spellbinders die - looking through my dies I spotted a tall gothic window shape from a beach hut set that was perfect for the job.
I added a coat of Glossy Accents and dropped some tiny beads on for the 'hundreds and thousands' and a little Glamour Dust glitter for good measure
  To finish the card I die cut the word and letters from leftover inked card and added some matching tiny hears and enamel dot


Thank you so much for coming by

 
 Happy Crafting, Stay Safe, 


Standing with Ukraine

Friday, August 05, 2022

August Elemental Inspiration


 Hello

 
It's Daring Cardmakers day again so here's this week's challenge
 
August Elemental Inspiration Challenge
 
 
Nat here today, and as it's the first Friday of the month, 
it's the return of our Elemental Inspiration challenge.
You need to incorporate three elements from the image below on your card, and the colours count as one element.
We can't wait to see how you are inspired. 
A good chance to revisit the colours of Ukraine where although its fallen further down in the News headlines Putin and his cohorts continue to wreak devastation and destruction on a country that they have no business to be stomping about it.

So I've used the basket weave pattern, leaves and flower along with the colours from Nat's mood-board,  for my card today. 
 And just in case anyone from the Ukraine comes across this - you're not forgotten.

The background for the card is a basket weave pattern stencilled in blue ink
in a nod to the patchwork of different patterns on the mood board I added an inked blue panel, over-stencilled with leaves in a darker blue ink
The filigree leaves are die cut using a Spellbinders die from inked green card
The flower has die cut petals and a hand cut centre - it would also have been die cut if my OH hadn't been on yet another long Teams call so that I couldn't use my ebosser! 
To complete I used one of my home made decal sentiments and a few enamel dots

 Thank you so much for coming by

 Happy Crafting, Stay Safe, 

 
Standing with Ukraine


Friday, July 15, 2022

Less is More


Hello
I hope you’ve enjoyed the sunny weather, and managed to keep your cool.  I give thanks every day and every night for our collection of fans. strategically placed around the house!
 
Today I’m sharing the card I’ve made for this week's Daring Cardmakers Challenge. 
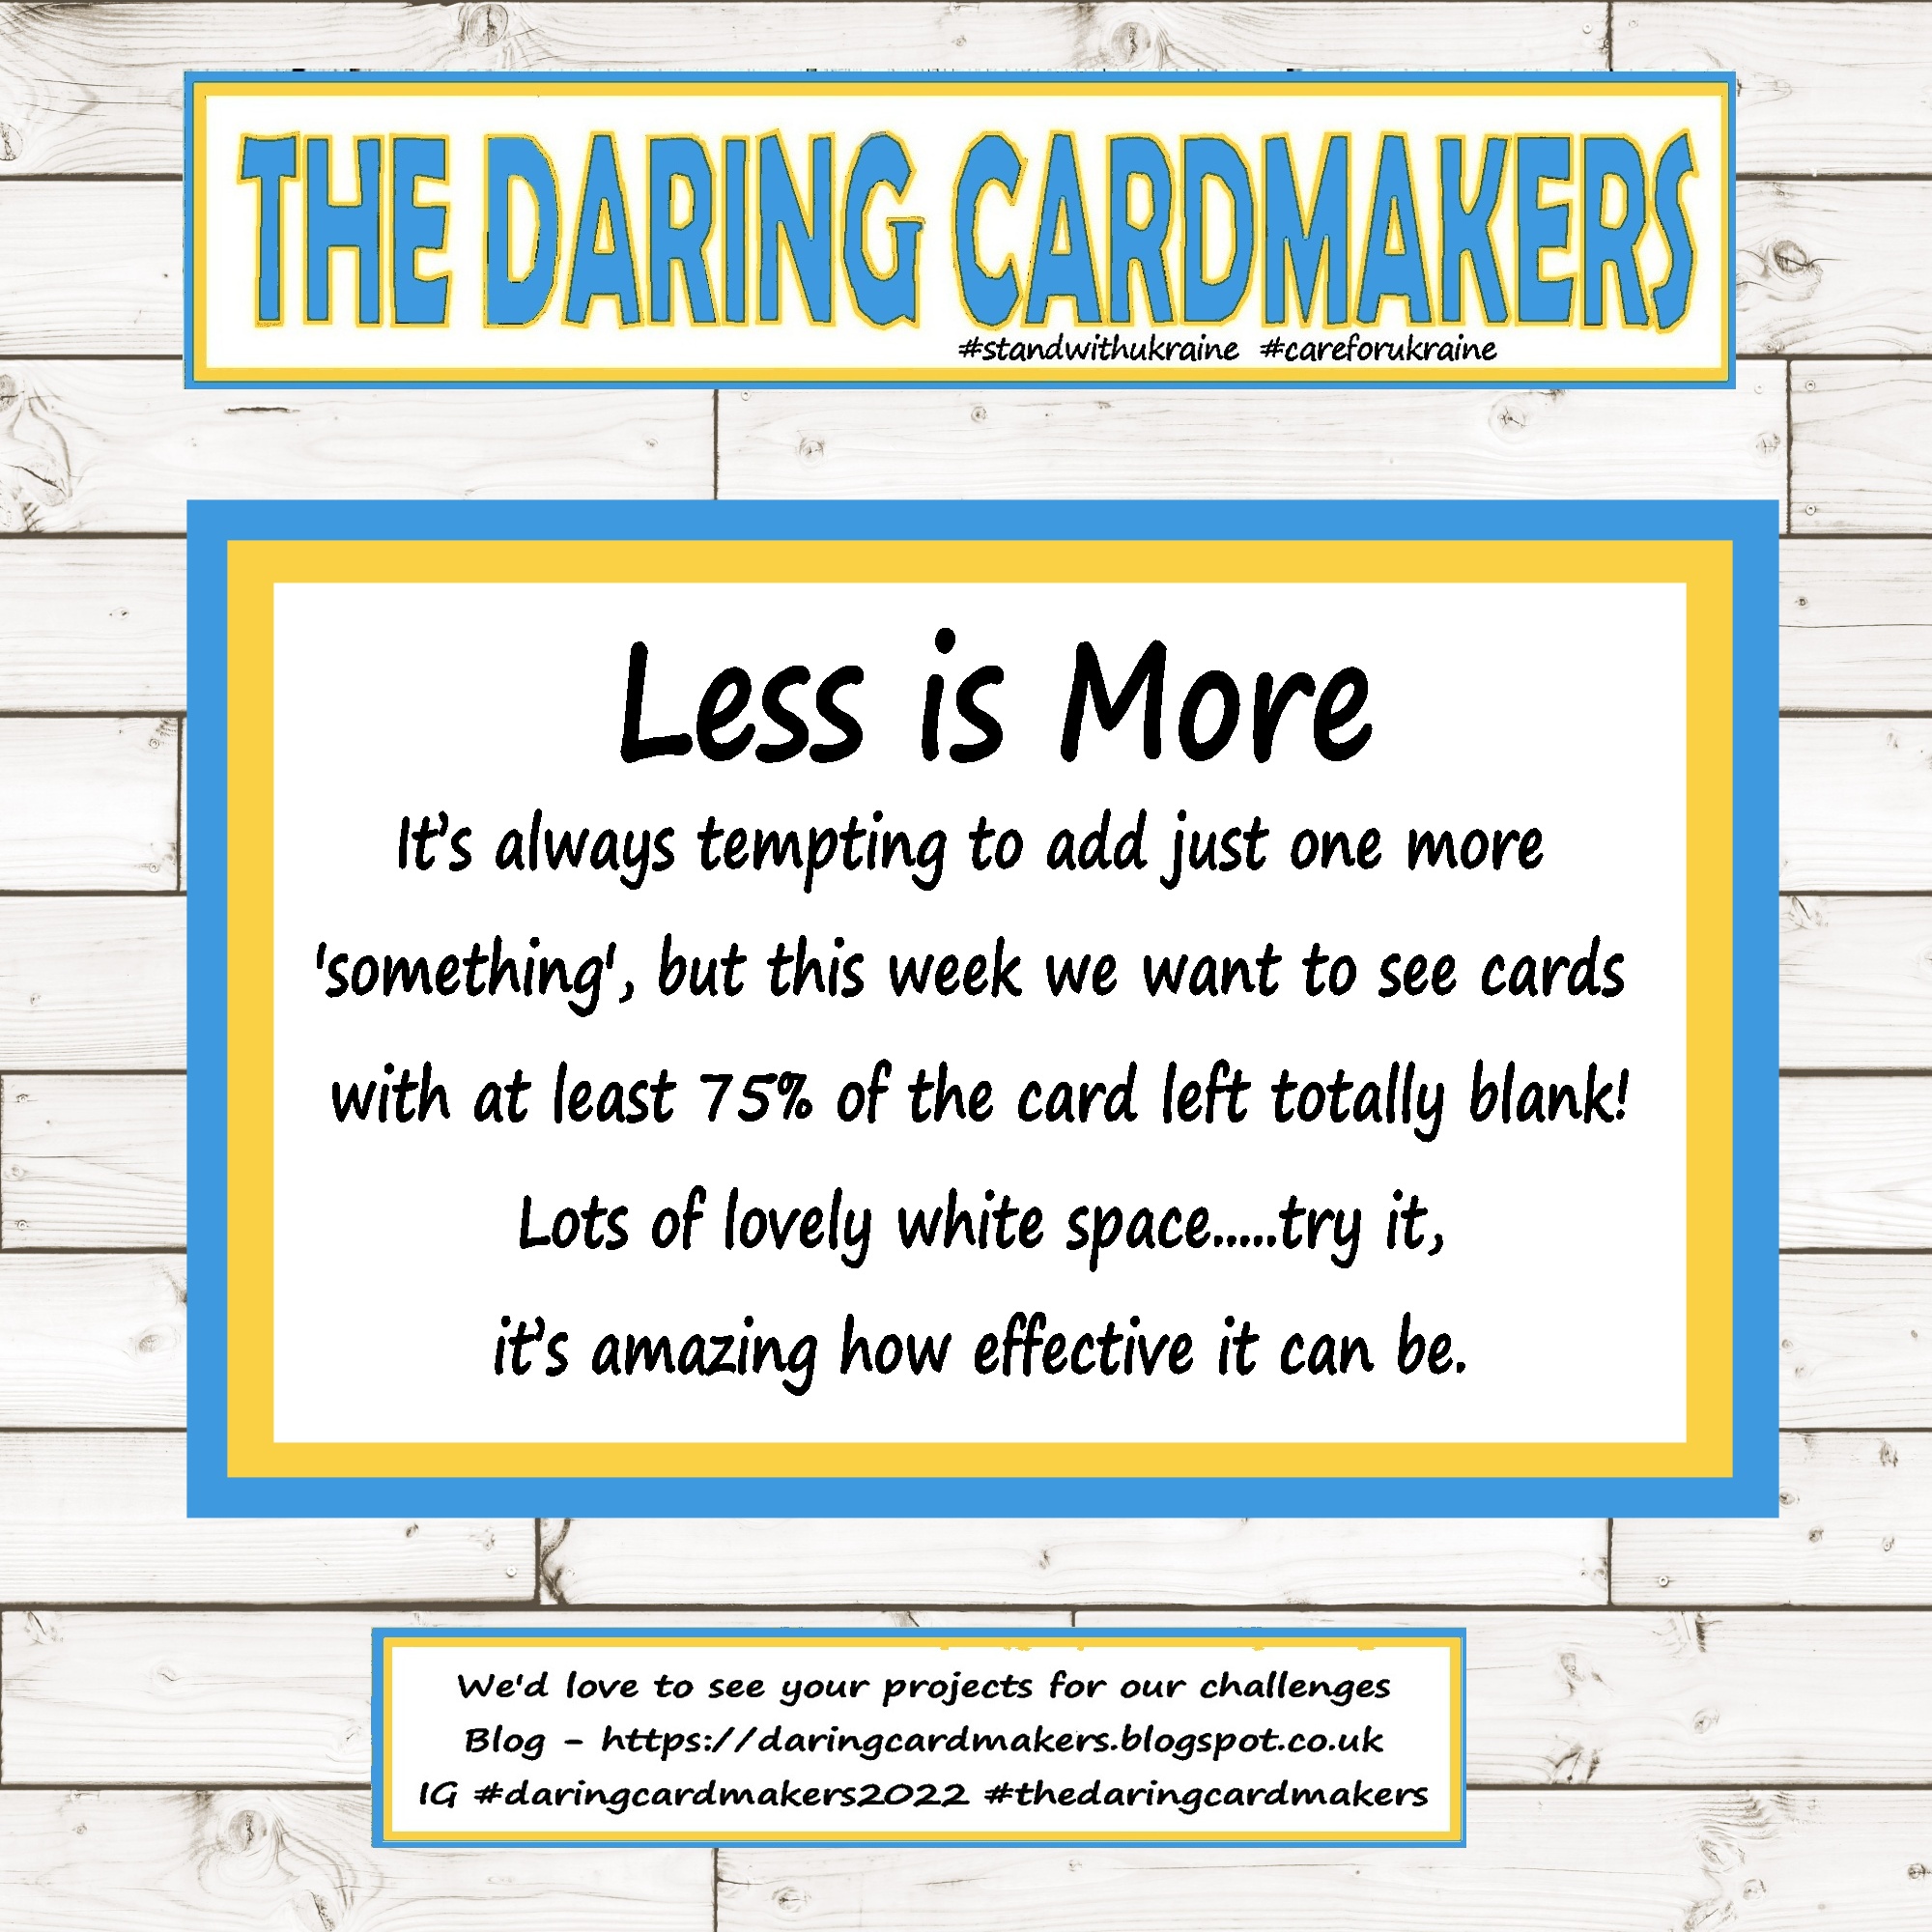
Less is More

It’s always tempting to add another die cut, tiny extra stamped flower, or just one more embellishment isn't it? 

But this week we want to see cards with at least 75% of the card left totally blank - no stamped or embossed backgrounds. Lots of white space.....try it, it’s amazing how effective it can be.

 Here is where you can see the Design Team: inspiration
 I thought the challenge would be just perfect for a First Wedding Anniversary card on my to-do list.


Info
 My card blank is a plain white square
For the hearts I coloured some scrap of the same card with several shades of pink Nuvo embellishing mousse.  These give a lovely soft sheen which you can see on the next 
 photo.  
The hearts were cut out using dies from a Bright Rosa die set from a couple of years back
 

I adhered three narrow pieces of silver glitter Washi tape to the left side of the card and arranged the hearts over, using scrap chipboard between the layers to keep them level.
The sentiment was pc generated and attached over the hearts.
To complete I added a few tiny silver gems to the large heart, anda silver heart shaped brad below the sentiment.

Thank you so much for coming by

 
 Happy Crafting, Stay Safe, 


Standing with Ukraine


Saturday, July 09, 2022

Cards with Attitude!

 Hello
I hope you’ve had a good week 
It's my turn to set the Daring Cardmakers Challenge for this week
Cards with Attitude!
 I often find myself in a bit of a card-making rut, making the same square or rectangular cards, using the same kind of layouts and embellishments etc
 - and hey, they work so why not? 
 But sometimes its good to break out of that rut and that's what I'd like you to do this week
I would love to see cards with some 'Attitude' this week. The kind that surprise the recipient by being a bit different from regular flat(ish) squares and rectangles we all like to make.
For example; box cards, pop-ups, shaped cards, cards with unusual folds, cards that rock, cards with secret compartments.
You could even use this challenge to experiment and have a go at a kind of card you've never made before!
Go on, it'll be fun!


I needed a card for my nephew’s birthday and as I’ve been meaning to use this fab die to make a masculine card this seemed the perfect opportunity .

Info

The die set is by Crafters Companion and consists of one die to cut the base card and one to cut the letters for the upper layer.

I cut the base card in a 360gsm navy cardstock and was pleased that the die cut both layers of the card with no trouble.

Next I printed out some deigns from one of my favourite masculine colour palettes of an old Funky Hand digital set and cut out the letters individually. The HAPPY section is a single die but it’s easy enough to place the paper so you can trim down to the individual letters.to make it easier to arrange the letters and add a little definition, I cut the HAPPY  die from plain white card, then glued the patterned letters in place before adhering the whole upper layer onto the card base.

The BIRTHDAY sentiment is attached with box hinges to the letters behind so that it stands out but folds flat for mailing.

I finished the card with a few punched gold stars.


 Thank you so much for coming by

 
 Happy Crafting, Stay Safe, 


Standing with Ukraine


Monday, July 04, 2022

Sheepish


Hello
 
This time in my blog catch up I've a little sheep Thank You (or Thank Ewe)  card to share

The sheep itself is all hand cut.  I drew round a circle die then cut out the scallop shape with scissors, this shape was then embossed with a Swiss Dots embossing folder.. 
The legs, ears and head are also hand cut.  The whites of the eyes are small punched circles and the black inners are stick on jewels.
The little flowers are made with punches and the leaves are die cut. Tiny pearls are used for the flower centres.
I matted the sheep onto Kraft card then onto a white square card
The sentiment is my horrible handwriting

  
Thank you so much for coming by, hope you liked what you saw!
 
 
 Happy Crafting, Stay Safe, 


Crafters standing with Ukraine


Friday, July 01, 2022

July Elemental Inspiration Challenge


Hello
I hope you’ve had a good week.  I can't quite believe we've already  waved Goodbye to the first half of 2022!
 
It's Daring Cardmakers day again so here's this week's challenge
 
July Elemental Inspiration Challenge
Its Dawn here this week and as its the beginning of the month and 
the summer holidays are just around the corner, I have picked 
the summery image below.
Remember you need to use a least 3 elements on your cards 
and the colours count as one element. 
We can't wait to see how you are inspired. 
For my card I chose squares from the layout, the cup from the top right picture and the flower - though I decided to use a lot of them!  I've also mainly used the colour palette.


To echo the squares from the layout I used a stencil and ink shades from the colour palette, I wanted to keep it pale and subtle, because I think I'm a bit too heavy-handed a lot of the time but I think maybe this time I went too far the other way as you can hardly see the squares at all!
For the tea cup I used ink and then Nuvo embellishing mousse to get the colour, depth and shine in a piece of card, then used a Spellbinders die set to cut the cup and saucer. I've added some chipboard between the layers and also under the cup - so that I could tuck the end of stems and leaves inside.
For the flowers I first inked some card on both sides in various shades from the colour palette the used a selection of petal dies (mainly from Spellbinders).  For the flower centres I used as many suitable dies as I could find so I could cut a lot in one go, it can be so  tedious!  The stems and leaves were all just hand cut from green card.

To complete I used a printed sentiment from a sheet I printed a while back and added a small Bakers' Twine bow


Thank you so much for coming by
 Happy Crafting, Stay Safe, 


Standing with Ukraine


Tuesday, June 28, 2022

Jubilee


A few weeks ago we celebrated the Queen's Platinum Jubilee with our neighbours by way of a street party.  Obviously some kind of decoration for the house was needed!
I made two lots of bunting, one set it the platinum and purple colours and the second in red, white and blue.  I was a bit disappointed in the pack of papers I’d bought from an online craft shop so I found a couple of digital sets of Jubilee themed papers to download and also set about altering some of my own basic designs to use. Once resized, printed and cut to shape I laminated them (well, this is Britain and we do have ‘weather’) and strung them together 


I also decided to do something a bit different and have a go at making a wreath for our front door. 

 I don’t have a wreath base so had to start by making one. I just used sheets of card that I’d hoarded (as you do). I drew round plates to get the circles, cut them out with scissors and glued a few layers together. Once dried I cut 4cm wide strips of green paper and wound them around to cover the card wreath.

 I made enough roses from card and paper to fill the wreath.  I used several shades of red and purple plus some silver paper I bought in error a while back (good when things like that find a purpose) and used different dies and punches as well as making them in different sizes

Once I’d arranged and glued the roses down I hand cut leaf shapes from green card and tucked them under the petals to fill out the wreath.
Next I tied a few ribbon bows to add extra interest, made a rosette from wired ribbon and glued a silver ribbon bow to the centre. 
To complete the wreath I fixed some glittery diamanté ’tails’ to the bottom and made a silver card crown for the top. 


You can see my tutorial for making the roses here:
 
 
Thank you so much for coming by, hope you liked what you saw!
 

Thank you so much for coming by

 
 Happy Crafting, Stay Safe, 


Standing with Ukraine