Monday, July 04, 2022

Sheepish


Hello
 
This time in my blog catch up I've a little sheep Thank You (or Thank Ewe)  card to share

The sheep itself is all hand cut.  I drew round a circle die then cut out the scallop shape with scissors, this shape was then embossed with a Swiss Dots embossing folder.. 
The legs, ears and head are also hand cut.  The whites of the eyes are small punched circles and the black inners are stick on jewels.
The little flowers are made with punches and the leaves are die cut. Tiny pearls are used for the flower centres.
I matted the sheep onto Kraft card then onto a white square card
The sentiment is my horrible handwriting

  
Thank you so much for coming by, hope you liked what you saw!
 
 
 Happy Crafting, Stay Safe, 


Crafters standing with Ukraine


Friday, July 01, 2022

July Elemental Inspiration Challenge


Hello
I hope you’ve had a good week.  I can't quite believe we've already  waved Goodbye to the first half of 2022!
 
It's Daring Cardmakers day again so here's this week's challenge
 
July Elemental Inspiration Challenge
Its Dawn here this week and as its the beginning of the month and 
the summer holidays are just around the corner, I have picked 
the summery image below.
Remember you need to use a least 3 elements on your cards 
and the colours count as one element. 
We can't wait to see how you are inspired. 
For my card I chose squares from the layout, the cup from the top right picture and the flower - though I decided to use a lot of them!  I've also mainly used the colour palette.


To echo the squares from the layout I used a stencil and ink shades from the colour palette, I wanted to keep it pale and subtle, because I think I'm a bit too heavy-handed a lot of the time but I think maybe this time I went too far the other way as you can hardly see the squares at all!
For the tea cup I used ink and then Nuvo embellishing mousse to get the colour, depth and shine in a piece of card, then used a Spellbinders die set to cut the cup and saucer. I've added some chipboard between the layers and also under the cup - so that I could tuck the end of stems and leaves inside.
For the flowers I first inked some card on both sides in various shades from the colour palette the used a selection of petal dies (mainly from Spellbinders).  For the flower centres I used as many suitable dies as I could find so I could cut a lot in one go, it can be so  tedious!  The stems and leaves were all just hand cut from green card.

To complete I used a printed sentiment from a sheet I printed a while back and added a small Bakers' Twine bow


Thank you so much for coming by
 Happy Crafting, Stay Safe, 


Standing with Ukraine


Tuesday, June 28, 2022

Jubilee


A few weeks ago we celebrated the Queen's Platinum Jubilee with our neighbours by way of a street party.  Obviously some kind of decoration for the house was needed!
I made two lots of bunting, one set it the platinum and purple colours and the second in red, white and blue.  I was a bit disappointed in the pack of papers I’d bought from an online craft shop so I found a couple of digital sets of Jubilee themed papers to download and also set about altering some of my own basic designs to use. Once resized, printed and cut to shape I laminated them (well, this is Britain and we do have ‘weather’) and strung them together 


I also decided to do something a bit different and have a go at making a wreath for our front door. 

 I don’t have a wreath base so had to start by making one. I just used sheets of card that I’d hoarded (as you do). I drew round plates to get the circles, cut them out with scissors and glued a few layers together. Once dried I cut 4cm wide strips of green paper and wound them around to cover the card wreath.

 I made enough roses from card and paper to fill the wreath.  I used several shades of red and purple plus some silver paper I bought in error a while back (good when things like that find a purpose) and used different dies and punches as well as making them in different sizes

Once I’d arranged and glued the roses down I hand cut leaf shapes from green card and tucked them under the petals to fill out the wreath.
Next I tied a few ribbon bows to add extra interest, made a rosette from wired ribbon and glued a silver ribbon bow to the centre. 
To complete the wreath I fixed some glittery diamanté ’tails’ to the bottom and made a silver card crown for the top. 


You can see my tutorial for making the roses here:
 
 
Thank you so much for coming by, hope you liked what you saw!
 

Thank you so much for coming by

 
 Happy Crafting, Stay Safe, 


Standing with Ukraine


Friday, June 24, 2022

Midsummer


Hello
I hope you’ve had a good week 
Today I’m sharing the card I’ve made for this week's Daring Cardmakers Challenge. When I first saw Jenny’s challenge I was reminded of a book I listened to a while back which was set around the Midsommar celebrations in Sweden. Among the traditions of the festivities is the making and wearing of flower headdresses, and I thought this was something  I could use as a starting point for a card., 

 HiJenny here to host this week's challenge!  

 Midsummer
As today is Midsummer's day - a day to appreciate all the gifts that nature provides.  
This week I dare you to make a card inspired by Midsummer. 
 Share your appreciation of nature and maybe even include some natural elements e.g. pressed flowers, leaf prints.
whatever you associate with life at the beach or by the water.

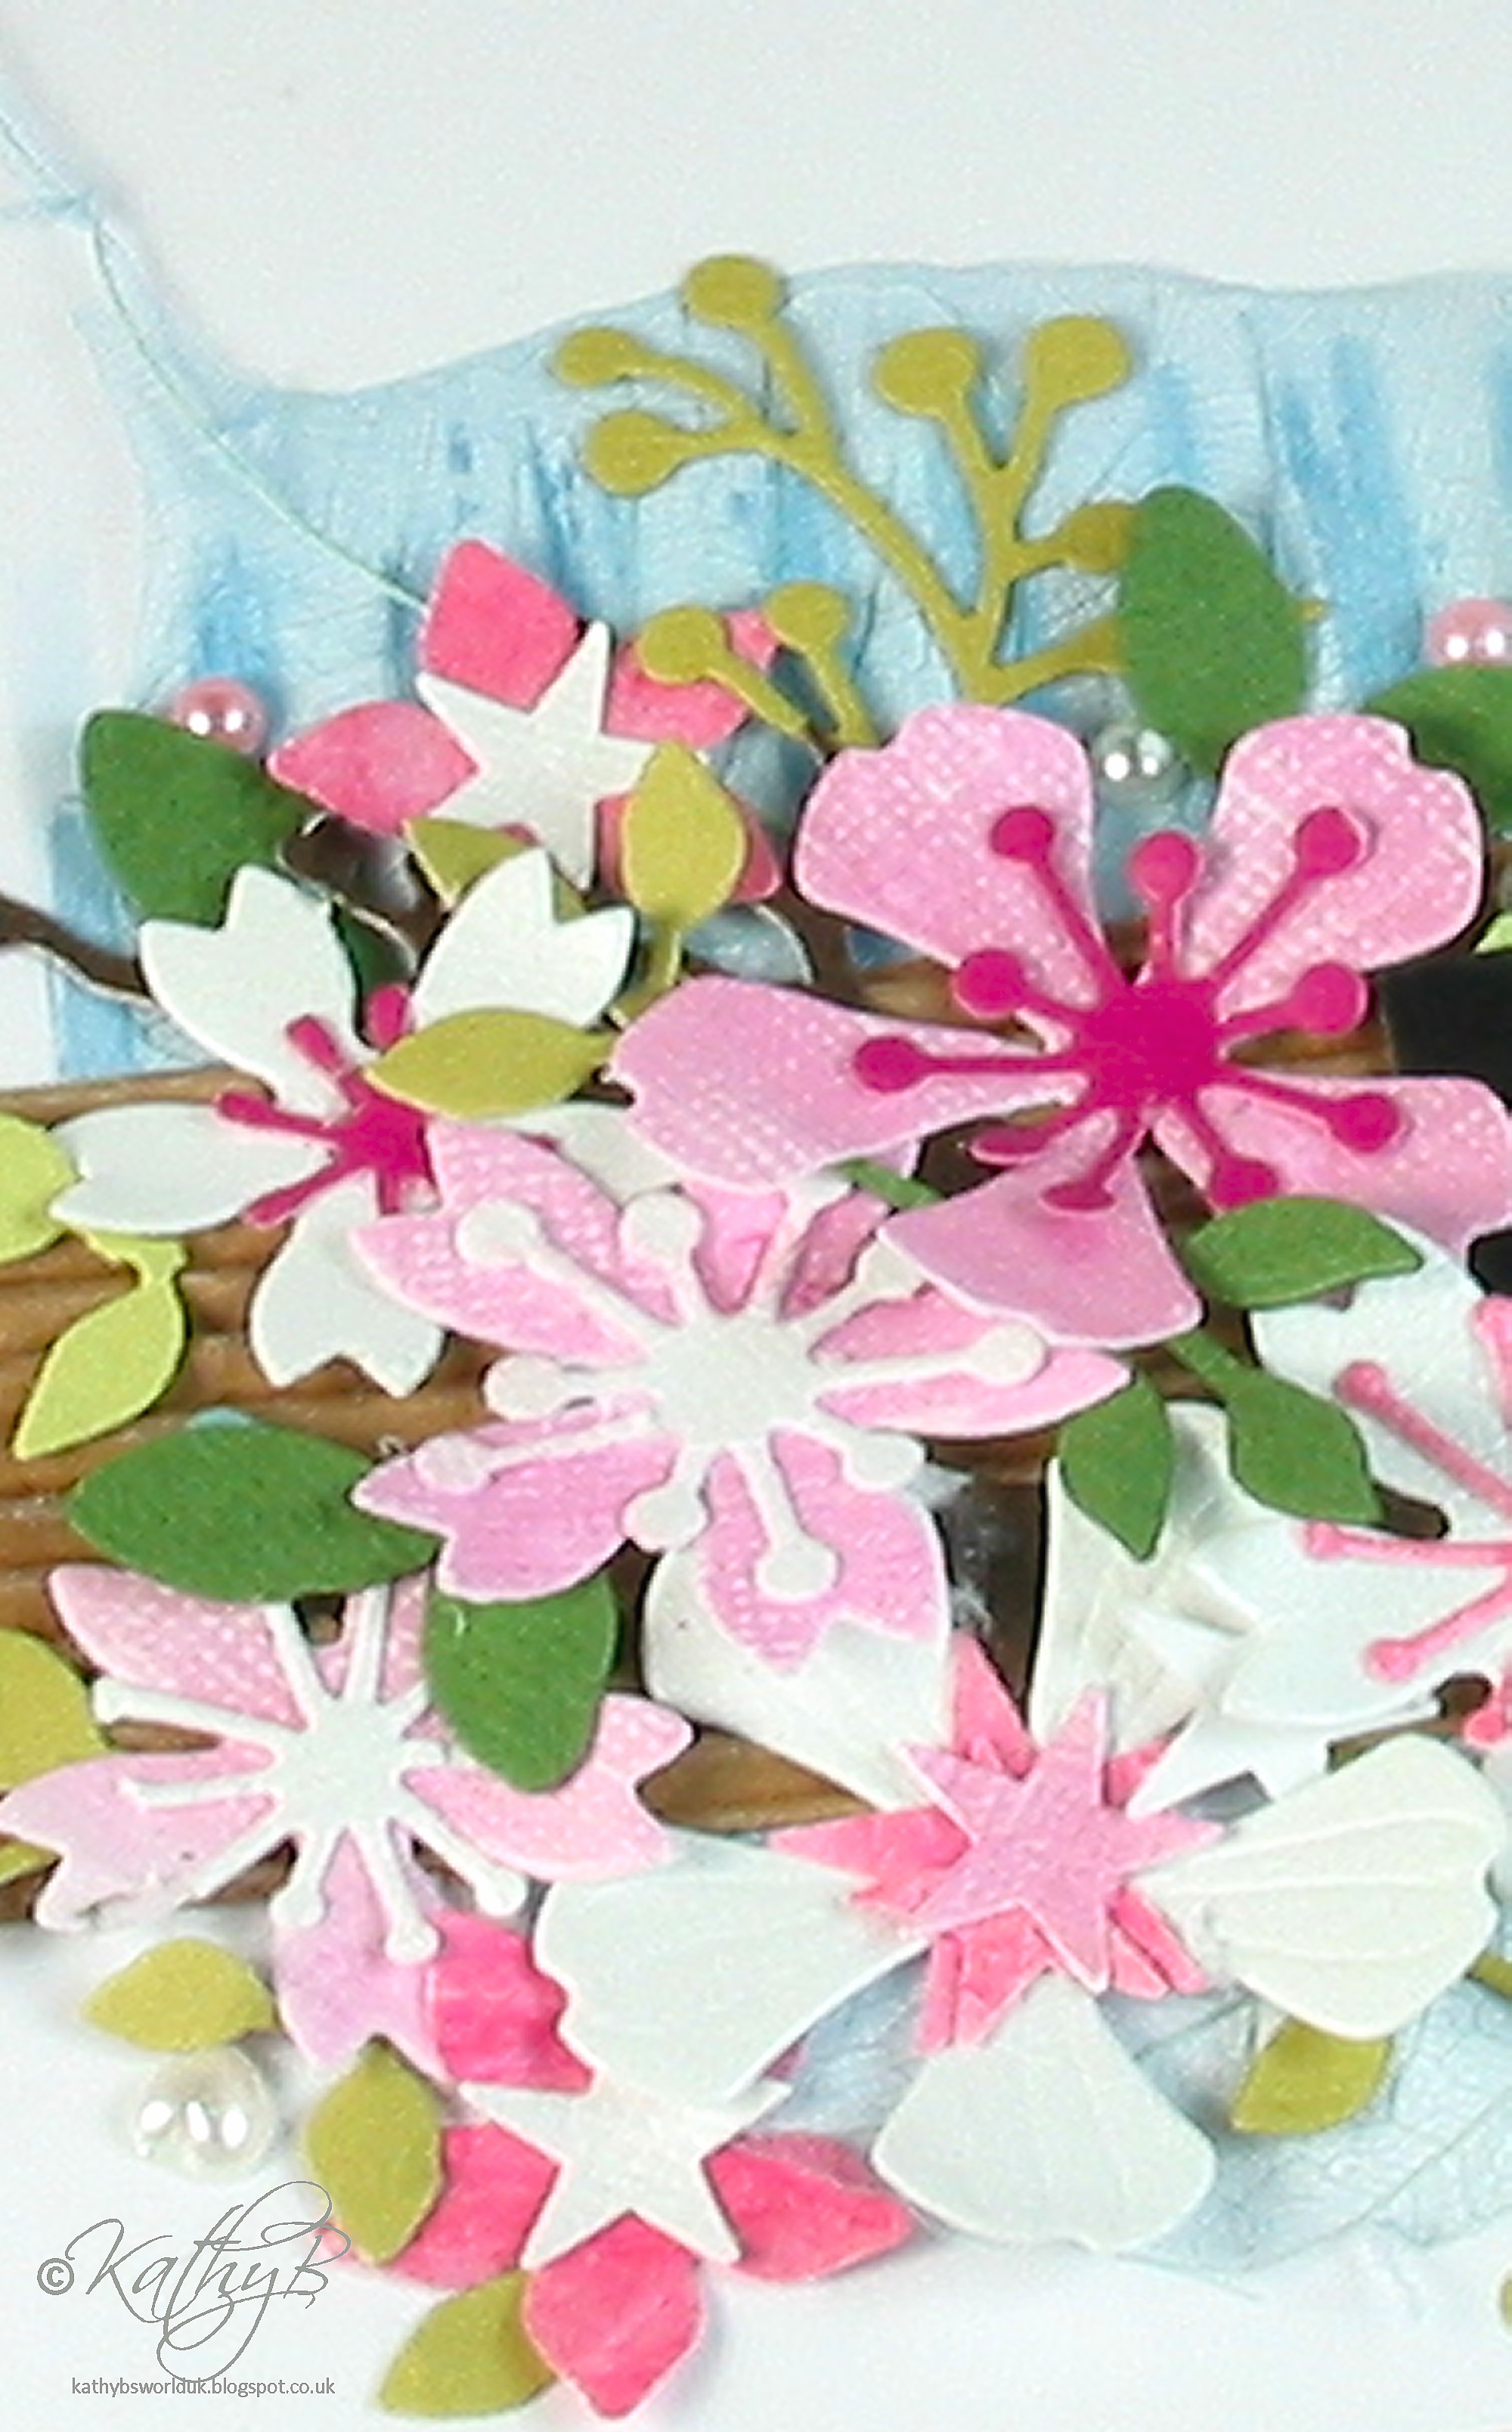
In the end my idea for some kind of ‘circlet’ of flowers morphed into more of a bunch of flowers but I added twigs and plenty of leaves to echo the beautiful flower crowns of Swedish Midsommer 

I stencilled pale blow stripes with a pretty Nuvo Embellishing Mousse, then glued a blue skeleton leaf over it  next I adhered a strip of corrugated card from some packaging for the background 

 Using some old Spellbinders dies I cut some twiggy shapes, then different shaped petals from pink and white card and arranged them on top.  I added a sentiment, the wooden circle with a cut out heart and a twine bow  next I die cut lots of leaves to tuck amongst the flowers - I almost always add leaves and swirls last!

Thank you so much for coming by

 
 Happy Crafting, Stay Safe, 


Standing with Ukraine


Saturday, June 18, 2022

Sandy Toes and Salty Kisses


Hello
I hope you’ve had a good week 
Today I’m sharing the card I’ve made for this week's Daring Cardmakers Challenge.  I managed to avoid using the beach huts featured on the mood-board for our June picture challenge a couple of weeks back but there was no way I could resist the opportunity twice! 
 
Miri has chosen this week's challenge. 
 
Vamos a la Playa... Life`s a Beach!

Summer's here and I hope we all have some time at the beach or pool or other kind of water planned for this summer. 
I'd like you to use a "beach element" on your card this week: 
sea shells, sand, a parasol, a beach chair, flip flops ... 
whatever you associate with life at the beach or by the water.


We’re extremely fortunate to own a flat in Southwold, Suffolk which is usually rented out for holidays, but obviously we get to use it too.  One of the things I love about Southwold and it’s  known for is it’s long promenade lined with a row of colourful (and extremely expensive) beach huts. They are so pretty!


I started by using the pc and Paint Shop Pro to make a striped design in various colours plus squares of matching plains. I resized them, then copied and pasted  them so they’d fit on a sheet of A4 card. I wasn’t sure which colours I wanted to use so I think my sheet had 8 striped and plain blocks of about 6cms on it in the end. 
I chose 3 colours and cut t he all the shapes (apart from the punched tiny hearts and circle) for the beach hut just using  scissors or guillotine. 
The sentiment is one of my home-made decal ones, it’s from a digital set I bought via Etsy. (I’ll add the designer and link later). I made a twine square knot to add more interest and tiny flags and bunting to complete the card. 
 

Thank you so much for coming by

 
 Happy Crafting, Stay Safe, 


Standing with Ukraine


Saturday, June 11, 2022

June Elemental Inspiration


   Hello! 

As usual I'm trying to get caught up with my blog.

I was so busy in the week leading up to the Queen's Platinum Jubilee that although I made a card for the Daring Cardmakers' June Elemental Inspiration challenge, I didn't get around to blogging it, so that's my catch-up post for today!

June Elemental Inspiration Challenge 

 Rizwana's moodboard was a fabulous Summery, Seasidey one which I loved.
 

You can see what my lovely teamies made by clicking HERE 

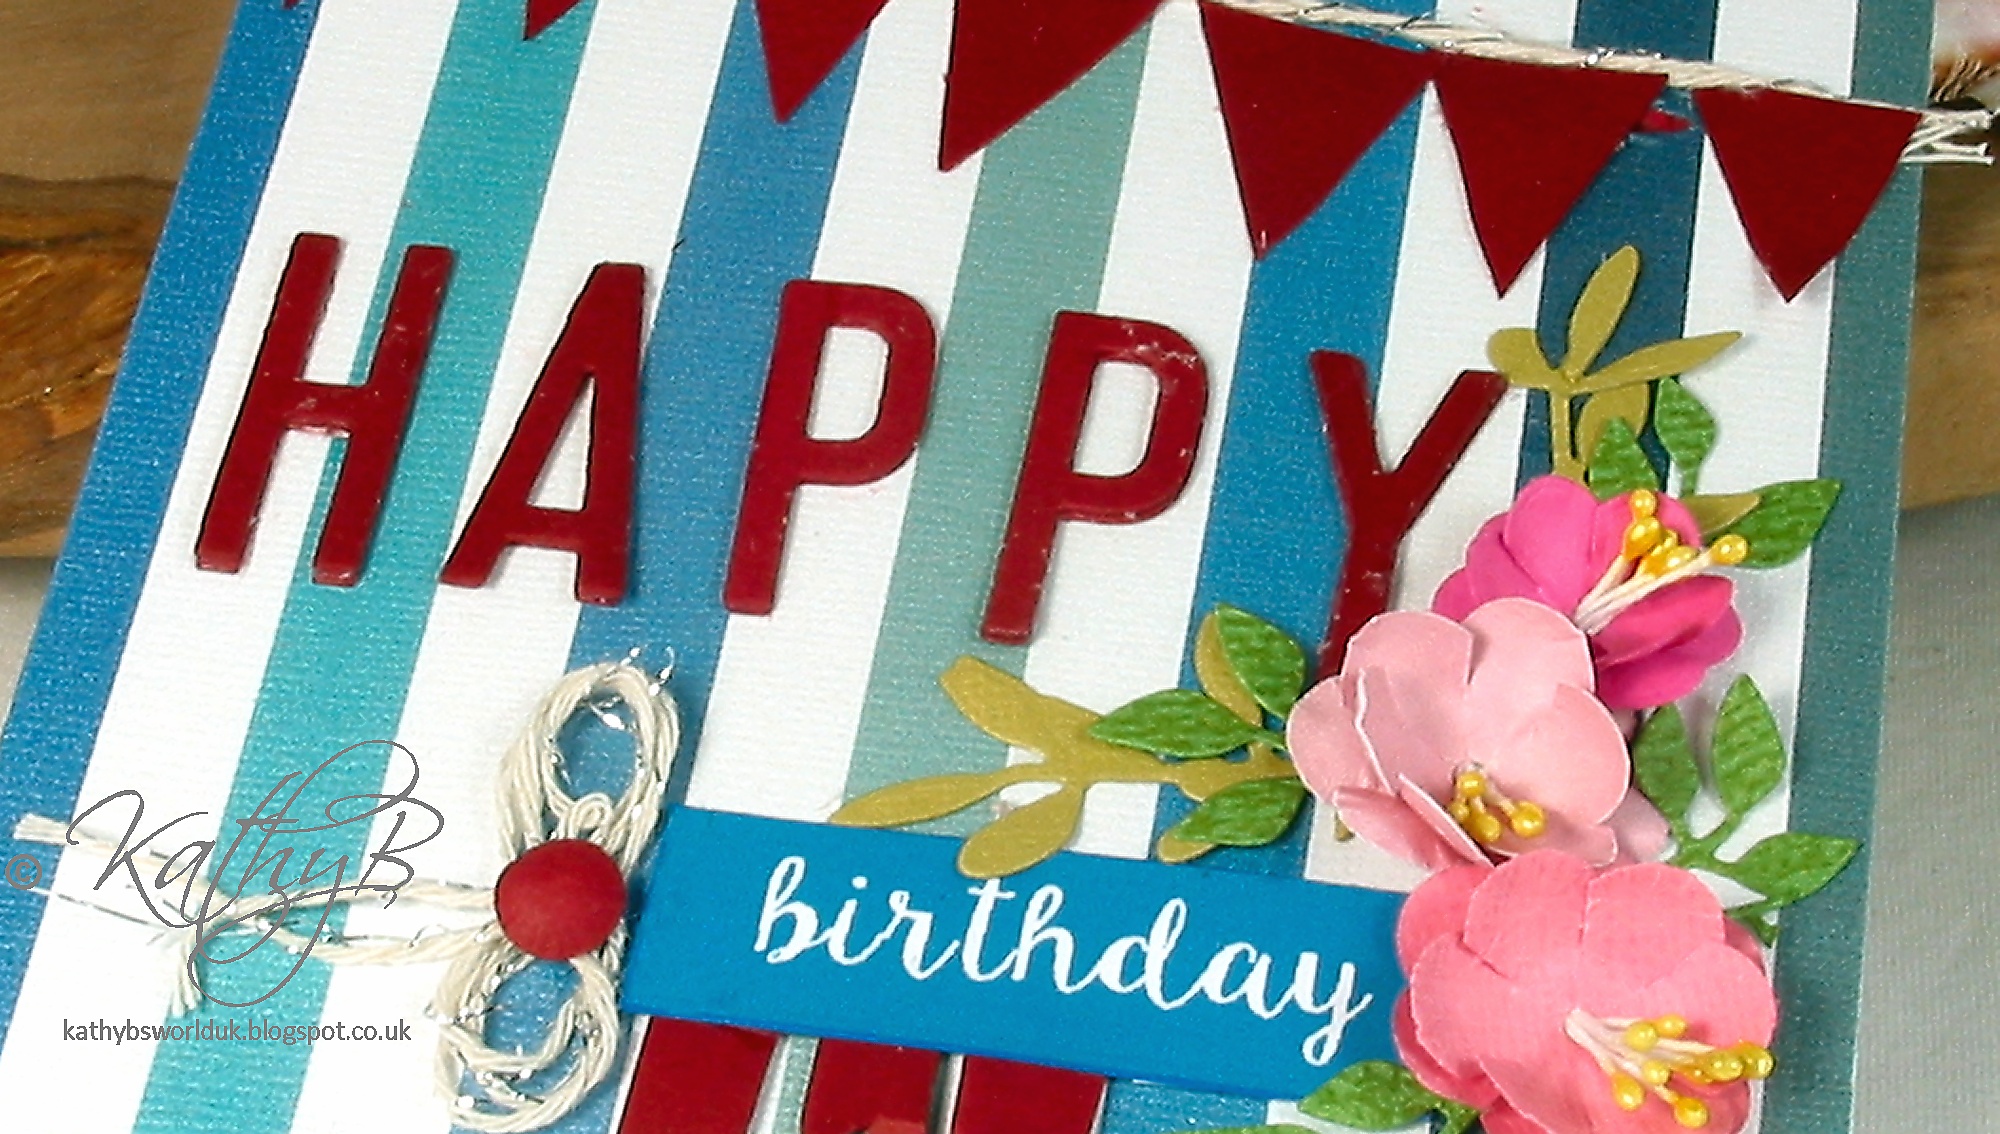
For my card I chose the Stripes, Triangles of the flags, Big Capital letters and the pink flowers


I chose some ocean shades and used them to design a wide striped paper on the pc, then printed to size for my card. 

I used red card for the letters (4 layers glued together), the 2 shapes of bunting and the red domed circle over the string bow.


The flowers were made from different shades of pink card and some bought flower centres, plus some leaf sprigs cut from one of my favourite-ever Spellbinders dies!

For the 'birthday word piece I colour-matched the background with one of the colours in the stripes.  There's always ropes, string and twine at the seaside, so I echoed that with the string on my bunting and the loopy bow of the sentiment.


Thank you so much for coming by

 
 Happy Crafting, Stay Safe, 


Standing with Ukraine


Friday, June 10, 2022

Pearls of Wisdom


This week's Daring Cardmakers Challenge
 
Joanne here to host this week's challenge. 
Pearls of Wisdom
As pearl is one of the birthstones for June let's celebrate by making something inspired by the glowing beauty of the pearl. 
You might embellish your card with flat back pearls or dimensional pearl drops, use pearlescent paints or cardstock, an image of a pearl in its shell or perhaps someone wearing pearl jewellery. We’d love to see how you’re inspired by pearls!
Here's some inspiration from the team:


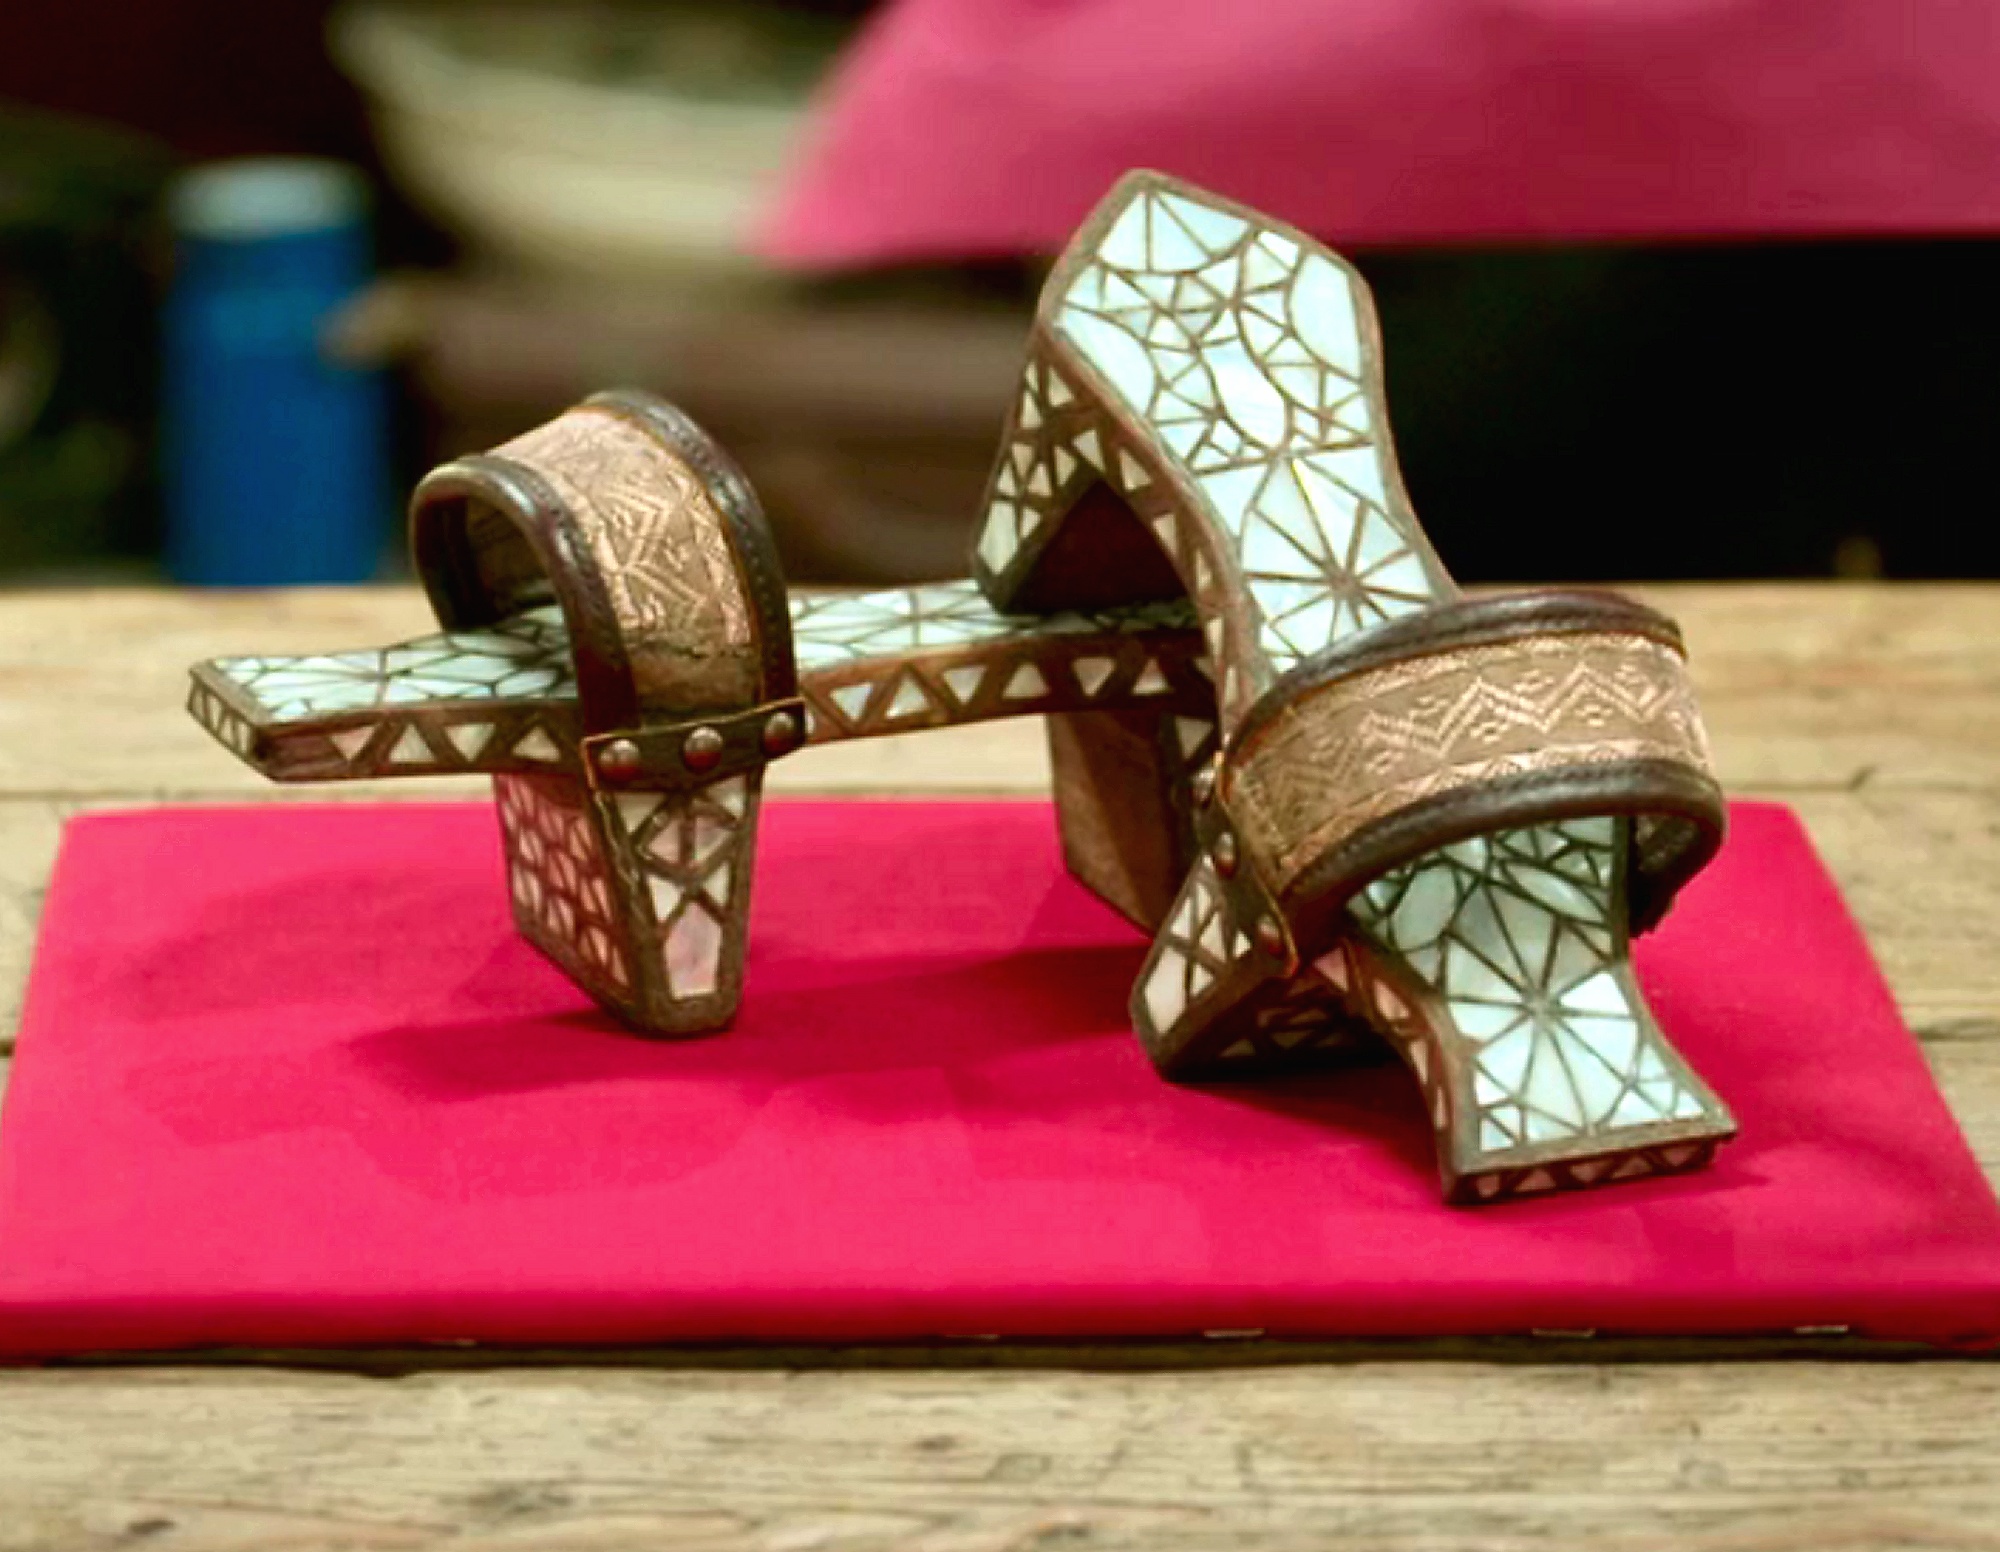
My inspiration for this card came from an episode of The Repair Shop  TV programme, which we watched earlier this week - although we're always behind with the TV we record so this was from a good few weeks back.  Still on the iPlayer though (Series 9 episode 19). In this case a man brought in the Turkish Bath shoes his mother wore as a young girl living in Istanbul. They were inlaid with pieces of Mother of Pearl and the leather strap had a pattern of metal wire embedded in them.

The picture is just a screen-shot from the programme 


I’d been meaning to use this fab Spellbinders die again for ages and this was the perfect opportunity. I cut it in black and gold card and adhered the two pieces onto my card base.
For the inlays I covered a piece of white card with several shades of Nuevo Embellishing mousse, then when dry cut the die twice more, taking care to save every tiny cut out piece!
 

Next I filled in all the holes in the black and gold frames with the pearlescent pieces trying to be as random as possible
To complete the card I die cut the letters and  word from the gol card and a backing piece from the black, the added a few punched circle ‘pearls’ cut from the coloured card


I couldn’t resist using my pearl necklace and Cook Island Black Pearl earrings as photo props 😏

Thank you so much for coming by

 
 Happy Crafting, Stay Safe, 


Standing with Ukraine